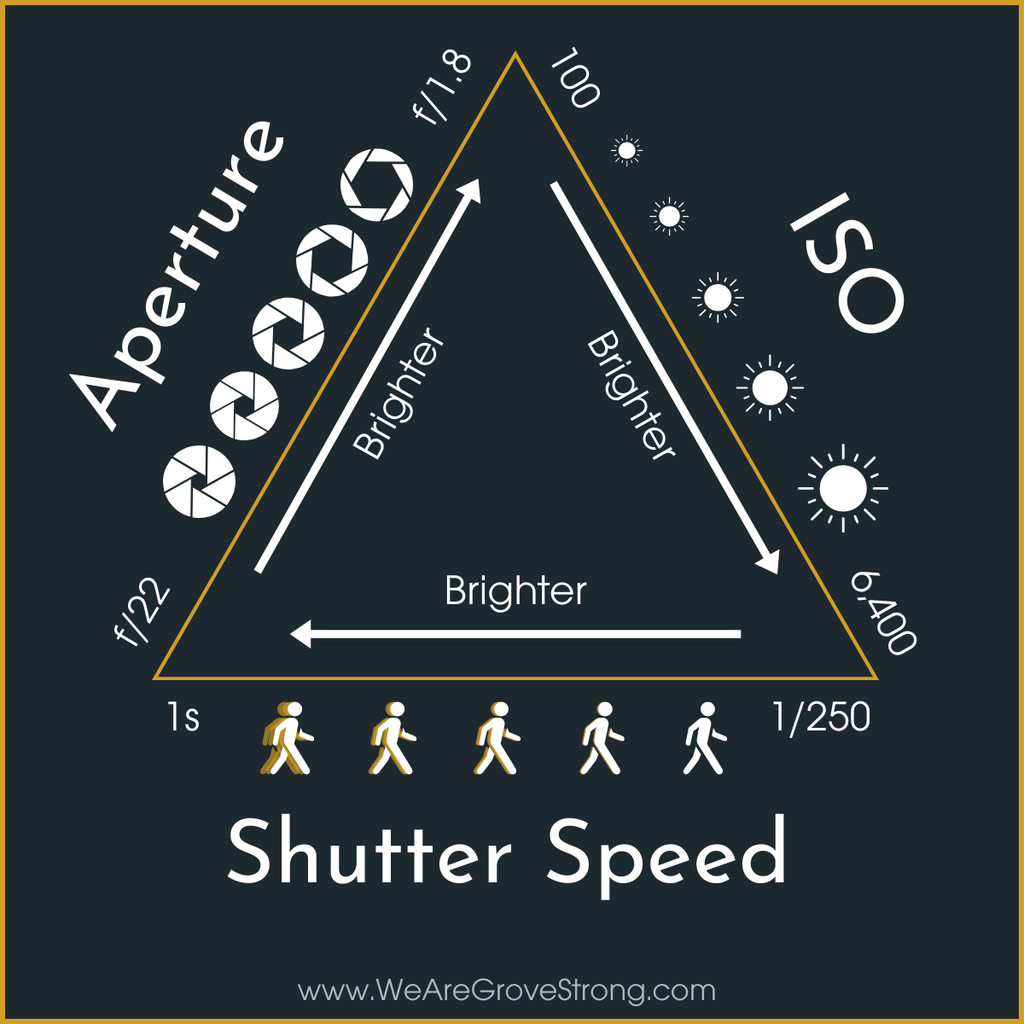
Shutter speed, aperture, and ISO all work together to ensure that the exposure of a photo is correct. So far, I have gone over shutter speed and aperture, but how does ISO play into the bigger picture? And what do white balance and bracketing have to do with it?
ISO stands for International Standardization for Organization. ISO simply measures the sensitivity of the camera sensor. The higher ISO a camera is set to, the more sensitive the camera is to light. Likewise, the less sensitive you want the camera to be, the lower ISO your camera should have. The ISO also affects the “grain” of a picture. The higher ISO, the more “grain” or “texture” will be in the photo, and vice versa for a low ISO.
White balance affects the color temperature of a photograph. It makes white look white and affects the overall tone of a photo. In photography, color temperature represents the warmth or the coolness of a light source. Lower color temperatures appear as warmer tones and higher color temperatures are cooler ones. Warmer tones create a soft mood in a photo, where as, cooler tones create a darker or heavier emotion. There are often several settings on a camera to adjust white balance. Some examples are tungsten (incandescent), fluorescent, daylight, cloudy, and shade. These settings can help with white balance and are to be changed based on what setting you are in.
Bracketing is a technique where multiple shots of the same subject are taken at different exposure values. It is a way of making sure at least one of the photos taken has good exposure. Most camera’s have a setting option where automatic exposure bracketing (AEB) is available to use. AEB allows a photographer to take three shots at a time, with each having a different exposure value.
Changing ISO
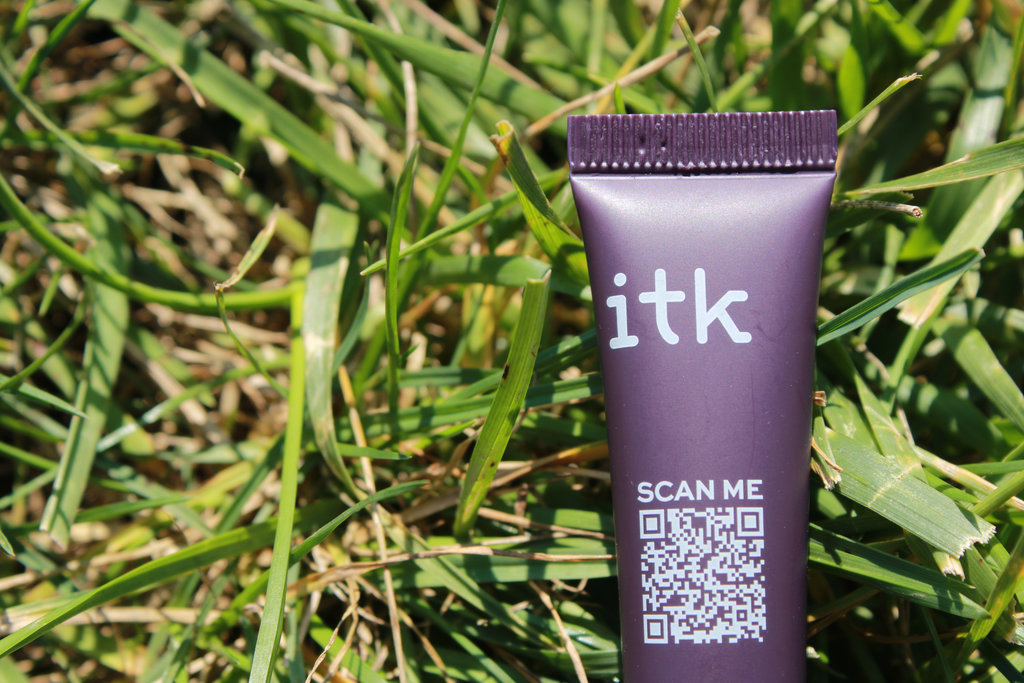
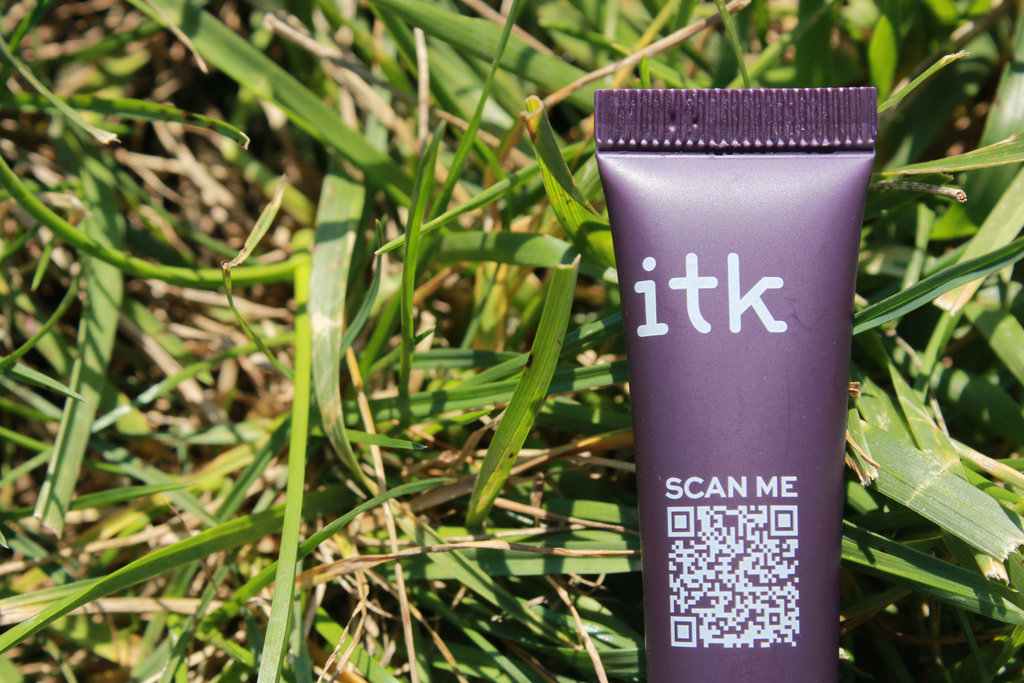
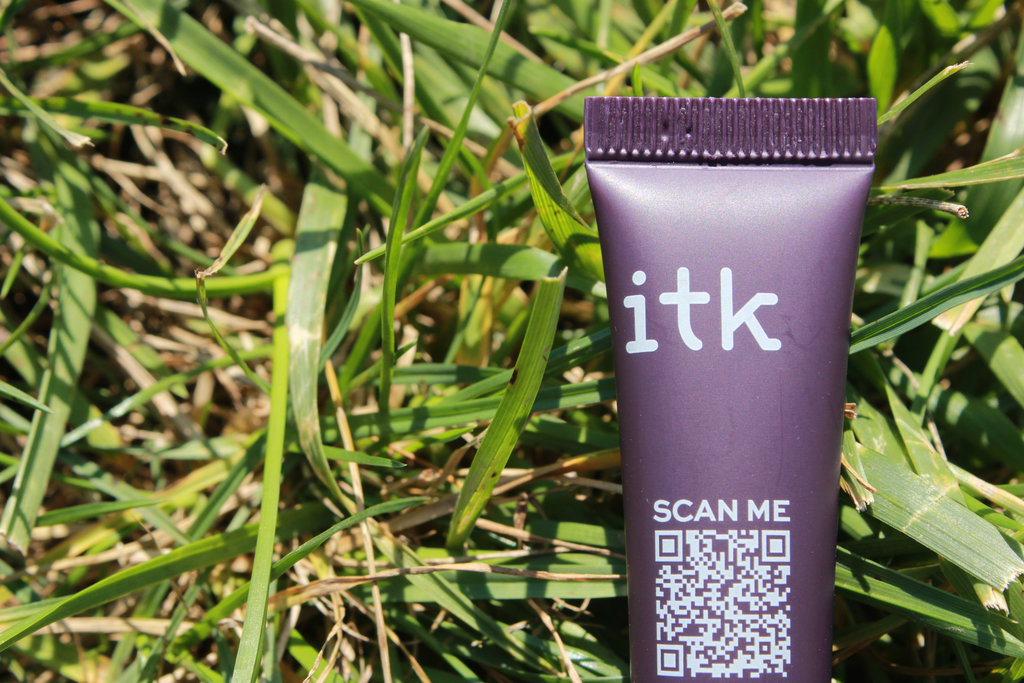
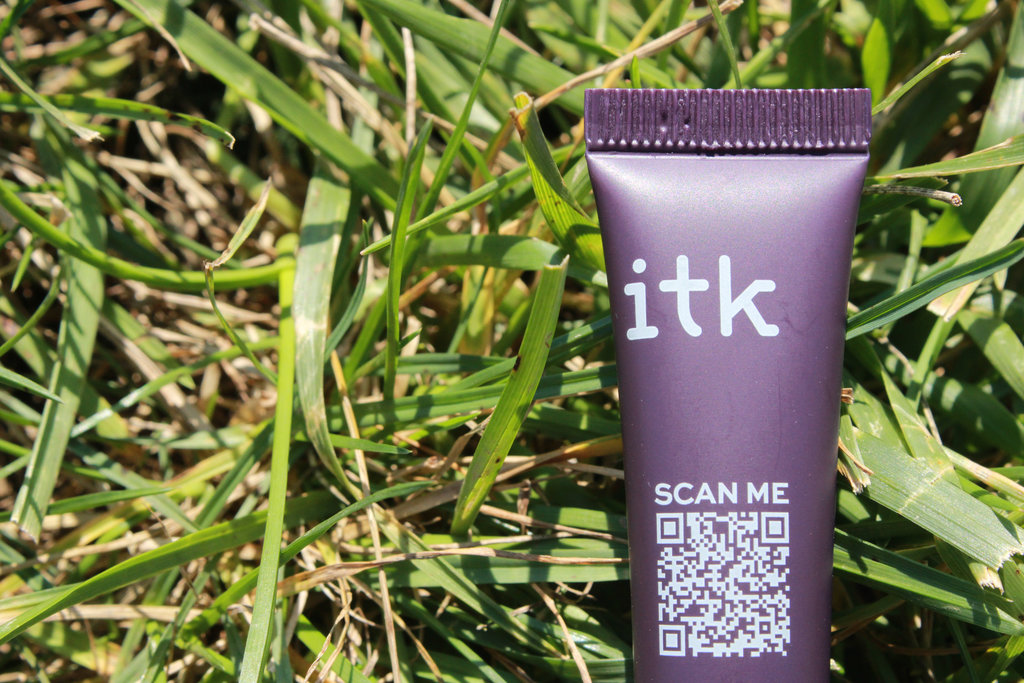
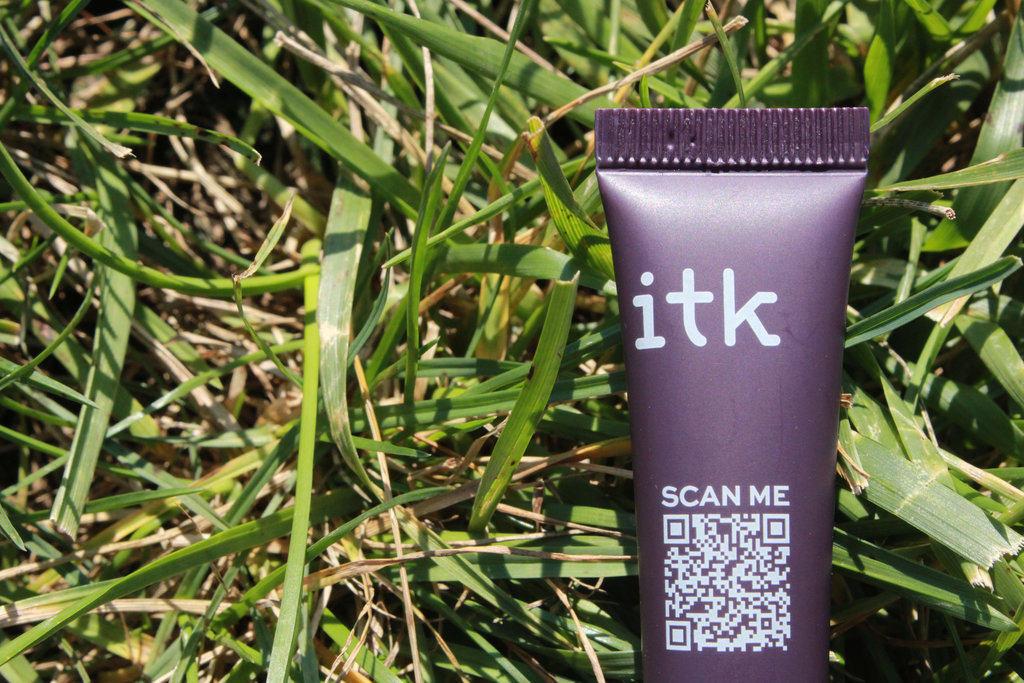
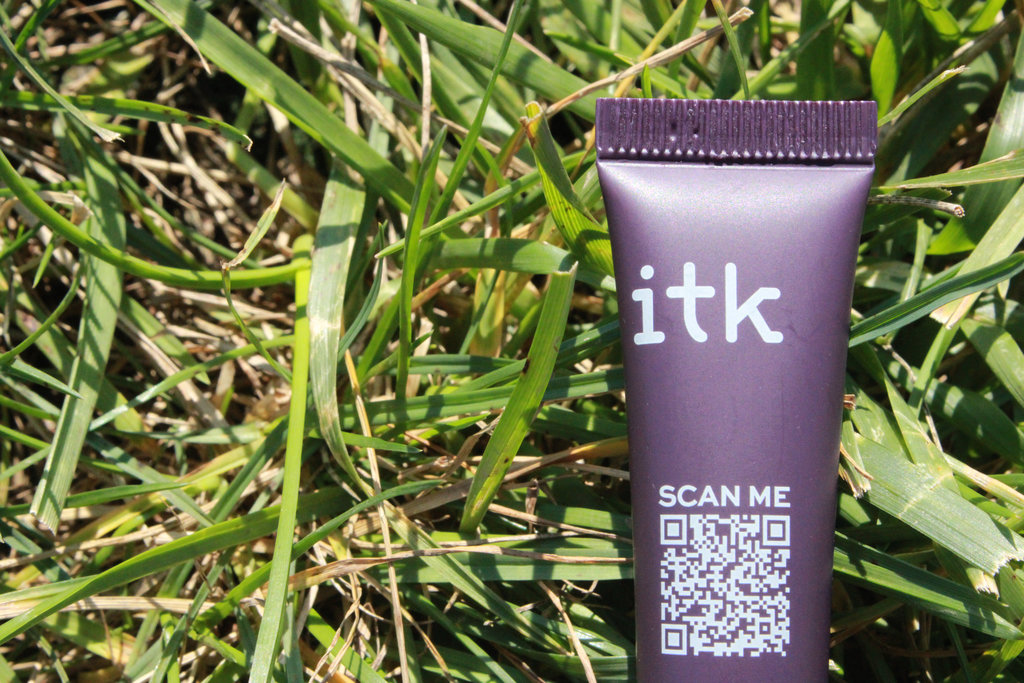
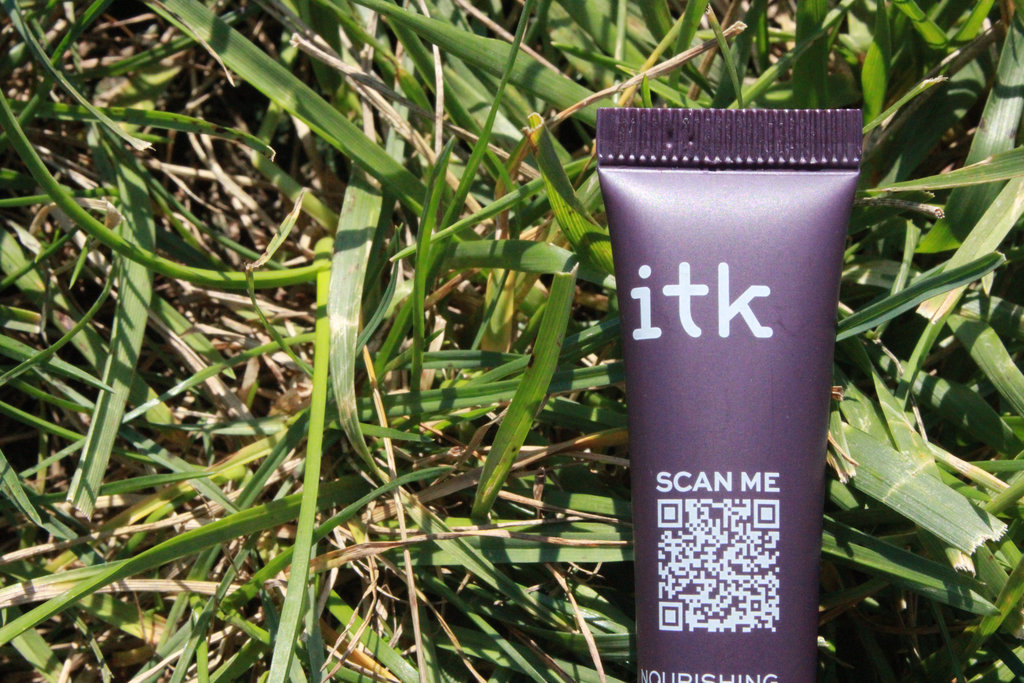
It can be difficult to see the initial differences in the photos above. If compared side by side and zoomed in, the photographs with a higher ISO do appear grainer then the photos with a lower ISO.
White Balance
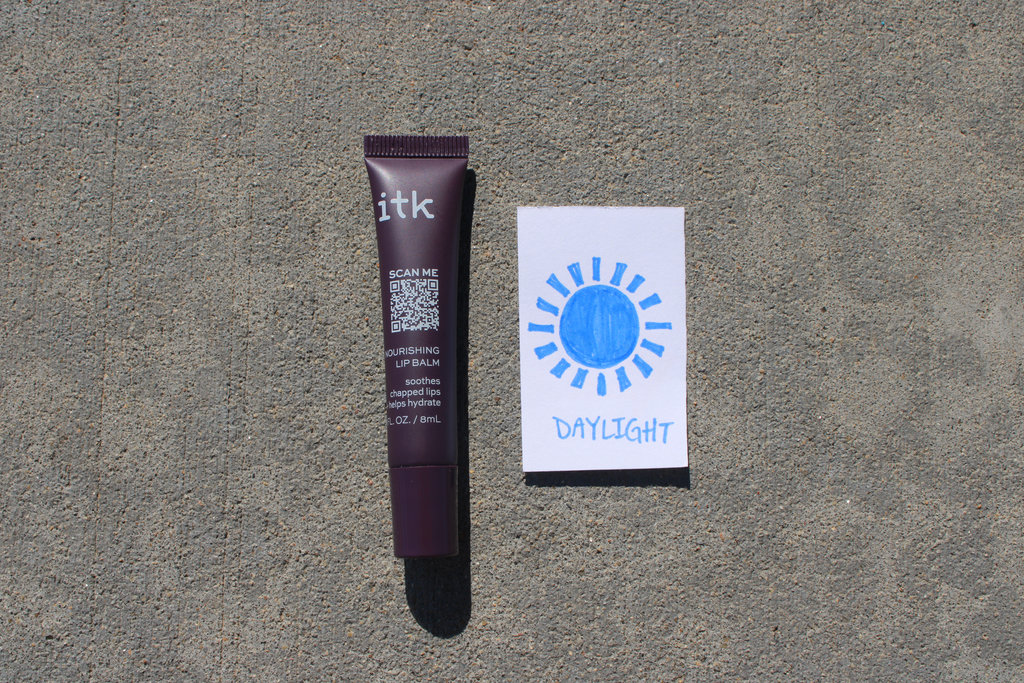
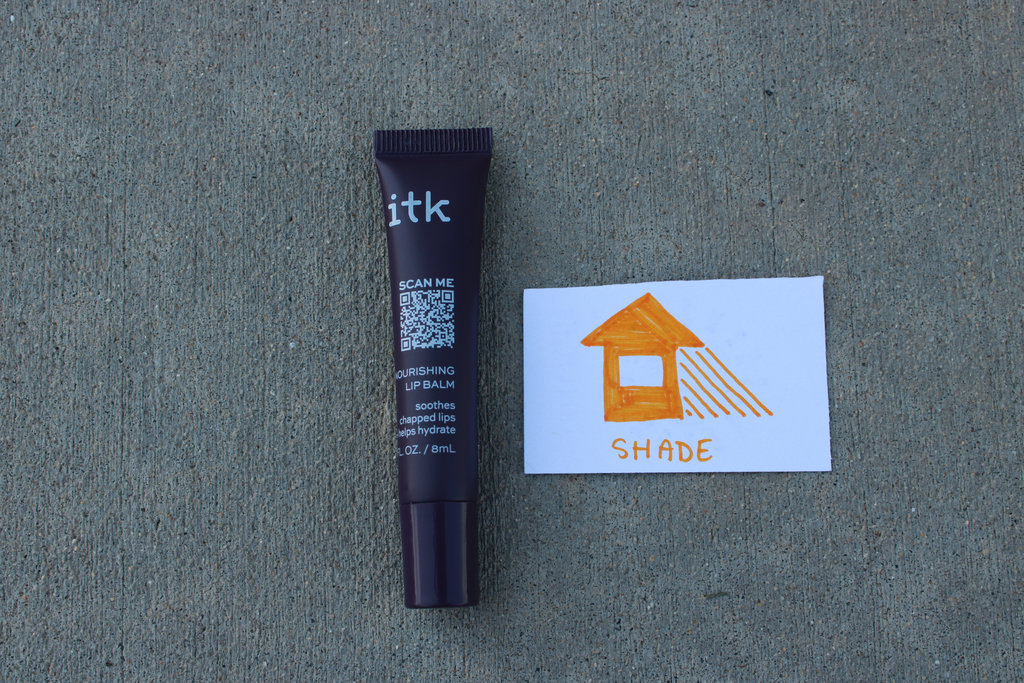
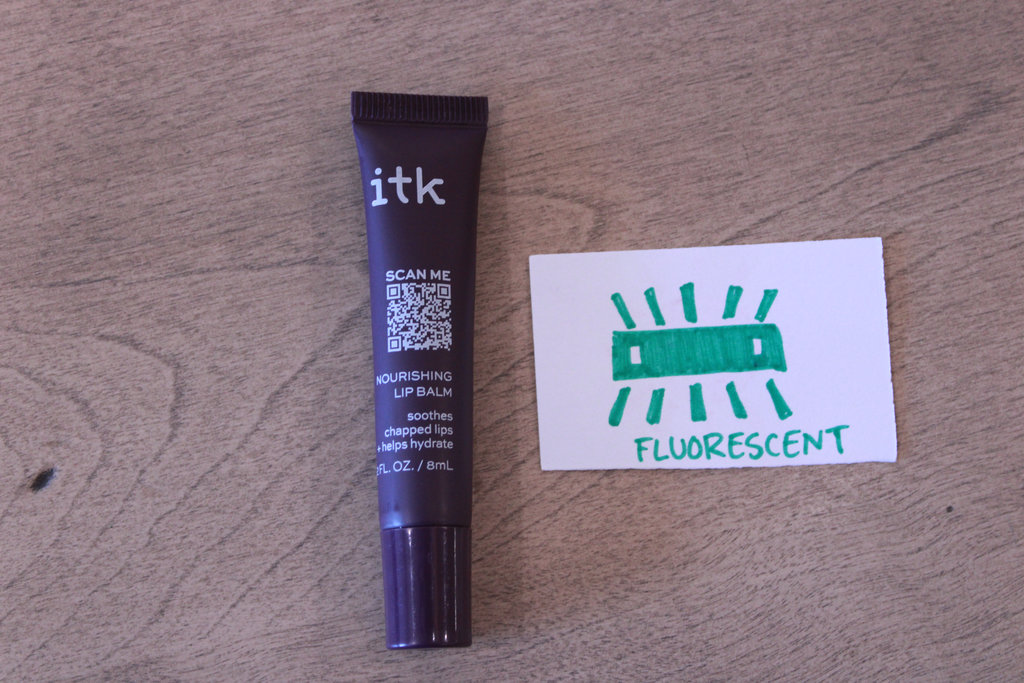
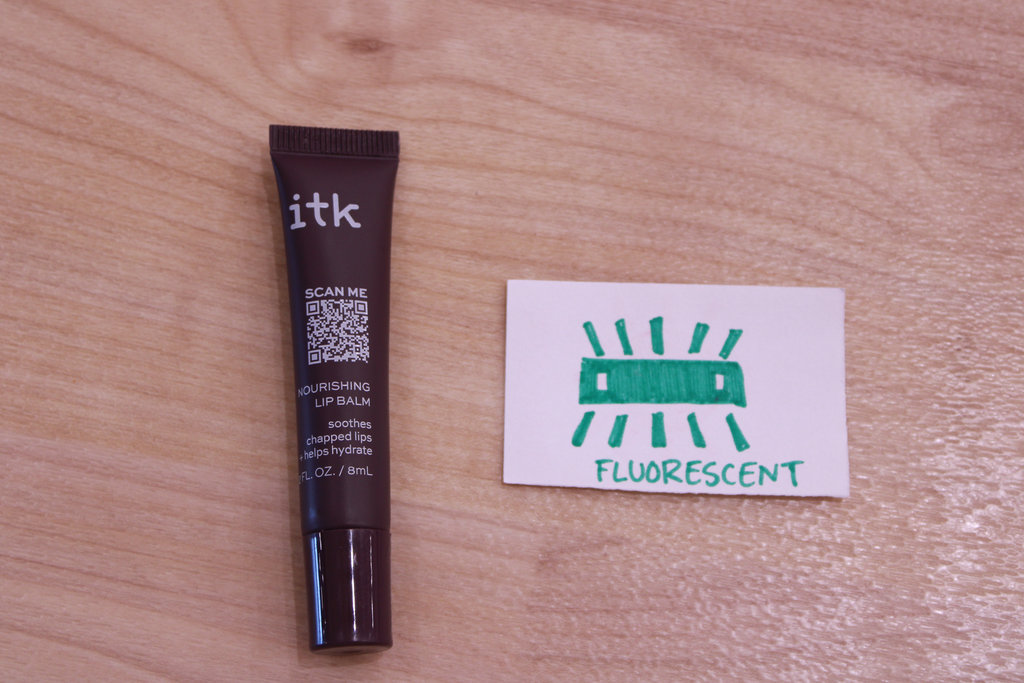
Each of the photographs above were taken in different lightings with different white balance settings. The white balance settings are represented as on the card in the pictures. The white balance helped to allow the true colors of the objects in the photos come out clearly.
Bracketing
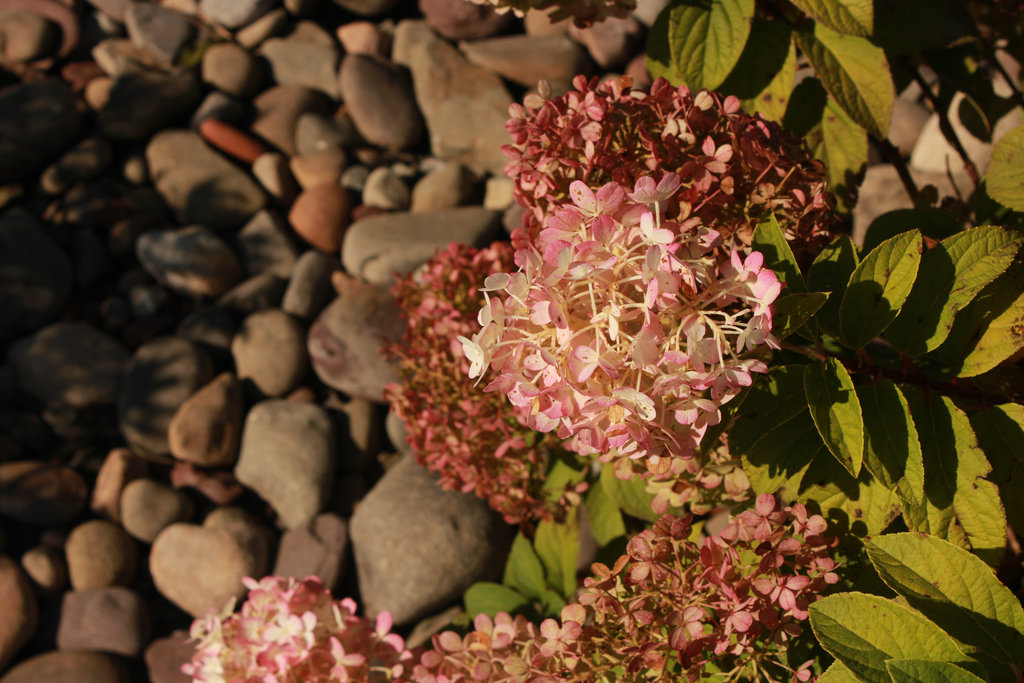
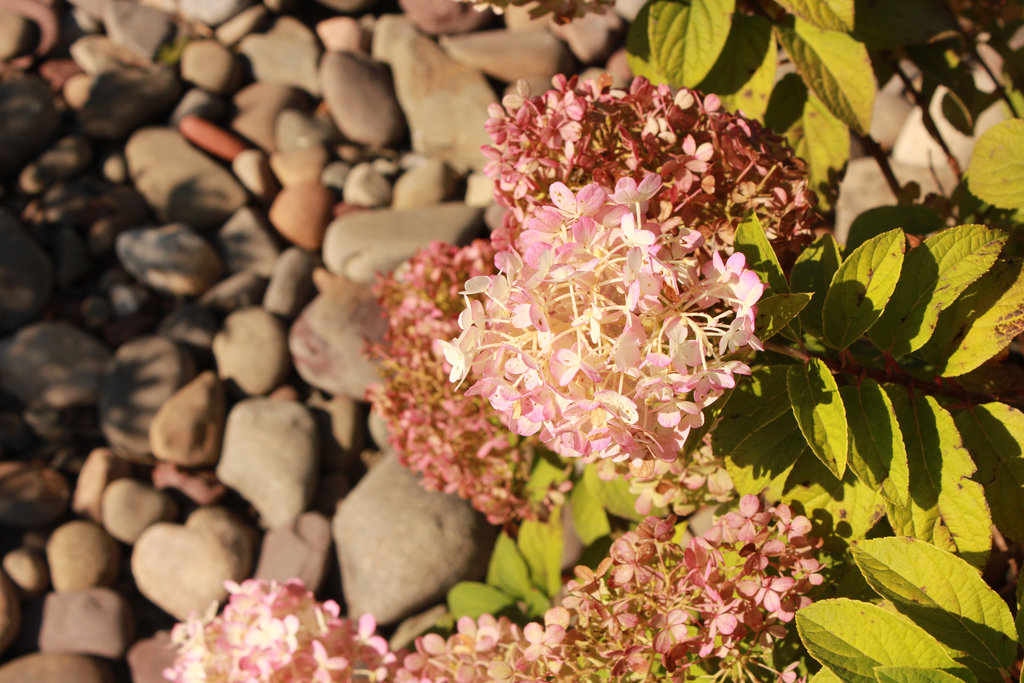
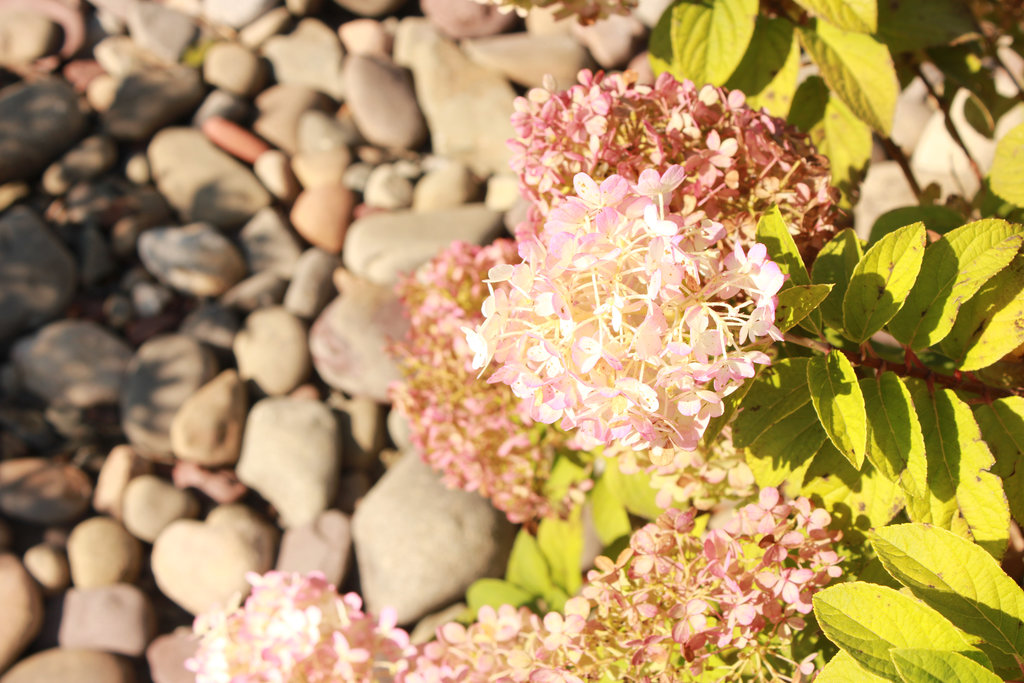
These three photos where all taken in about a second using AEB. Each picture has a slightly different exposure value. As you can see, the left picture is dark, the right picture is really bright, and the middle picture is about perfect. Bracketing can be a very helpful tool when trying to find just the right exposure value.
A Favorite
This photo stood out to me because of the deep shadows in the picture. It is a little underexposed. I don’t normally favor dark pictures, but I liked this one more than the lighter ones. I believe the details stand out more in the picture. In some ways, the picture comes across less bold.