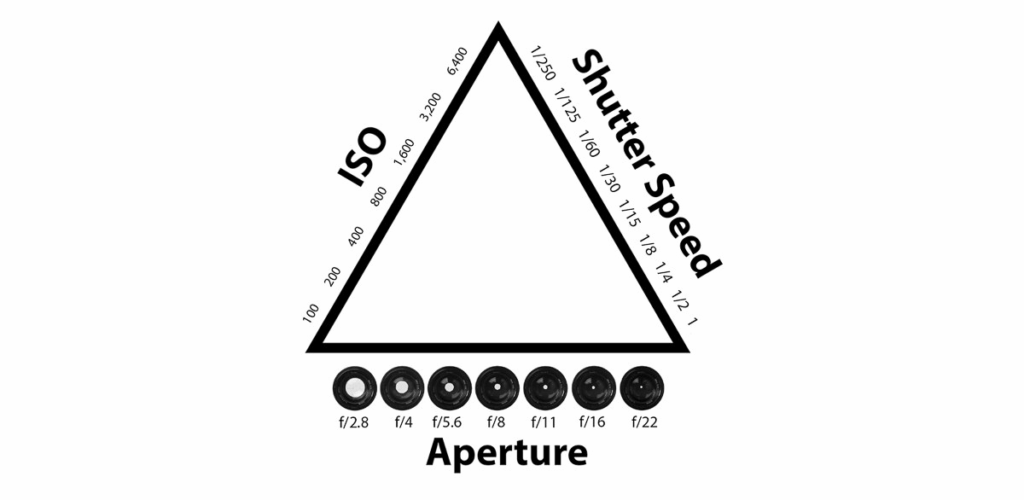
The picture above shows the exposure triangle. As you can see, 3 components (ISO, white balance, and bracketing) work together in creating a good picture.
ISO: Changes how sensitive the camera is to light.
Higher ISO- brighter but more noise (grainy or fuzzy).
Although you might not be able to immediately see the difference, when you zoom in you will see the pictures get more and more clear.
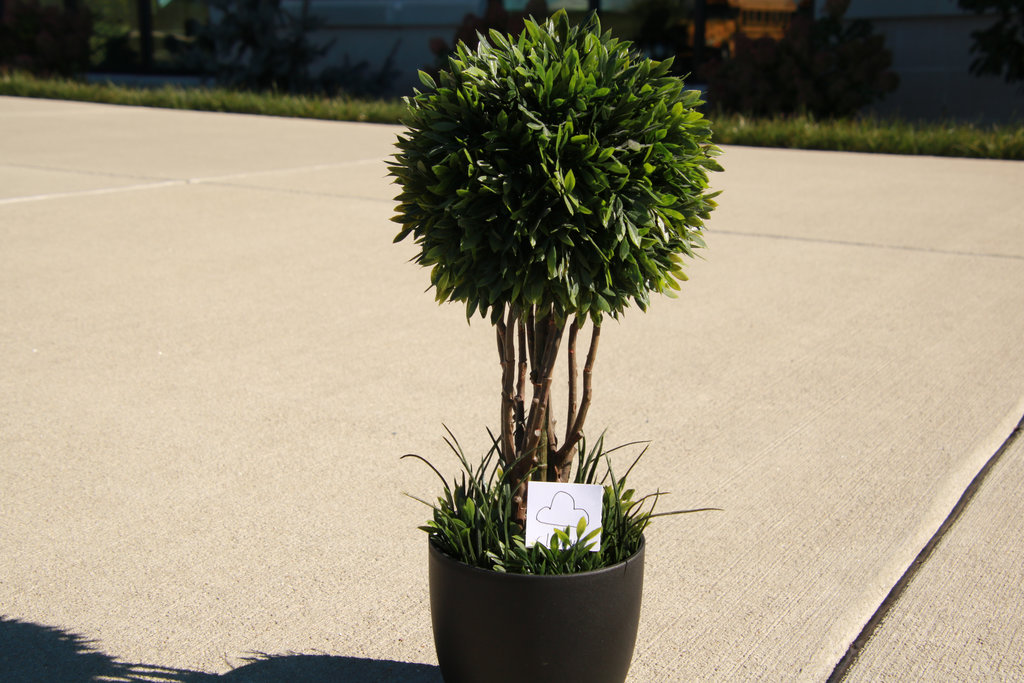
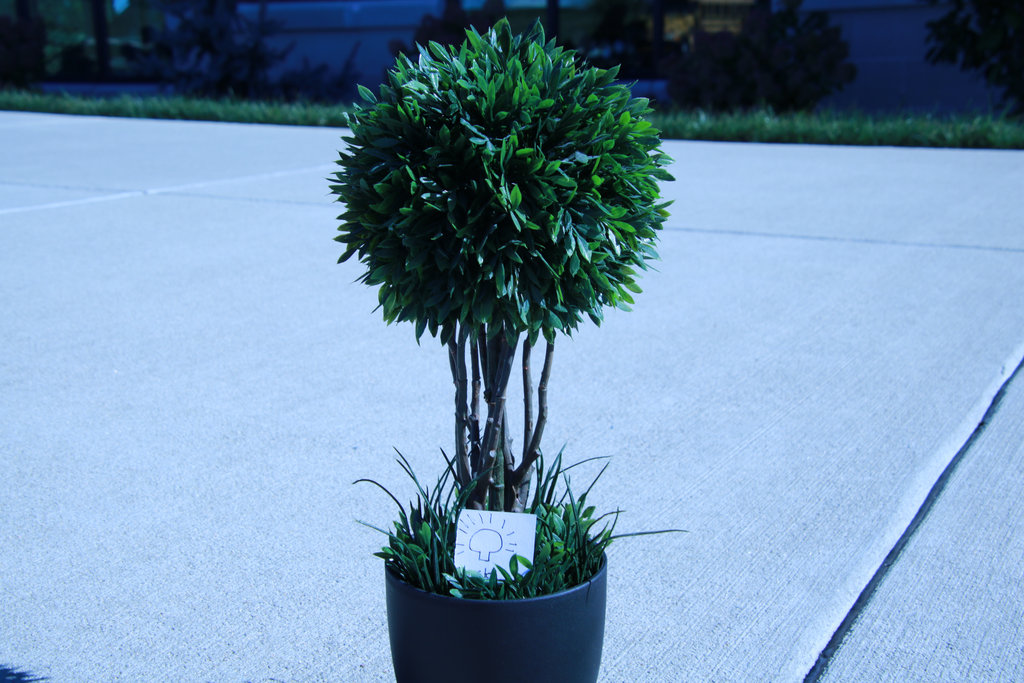
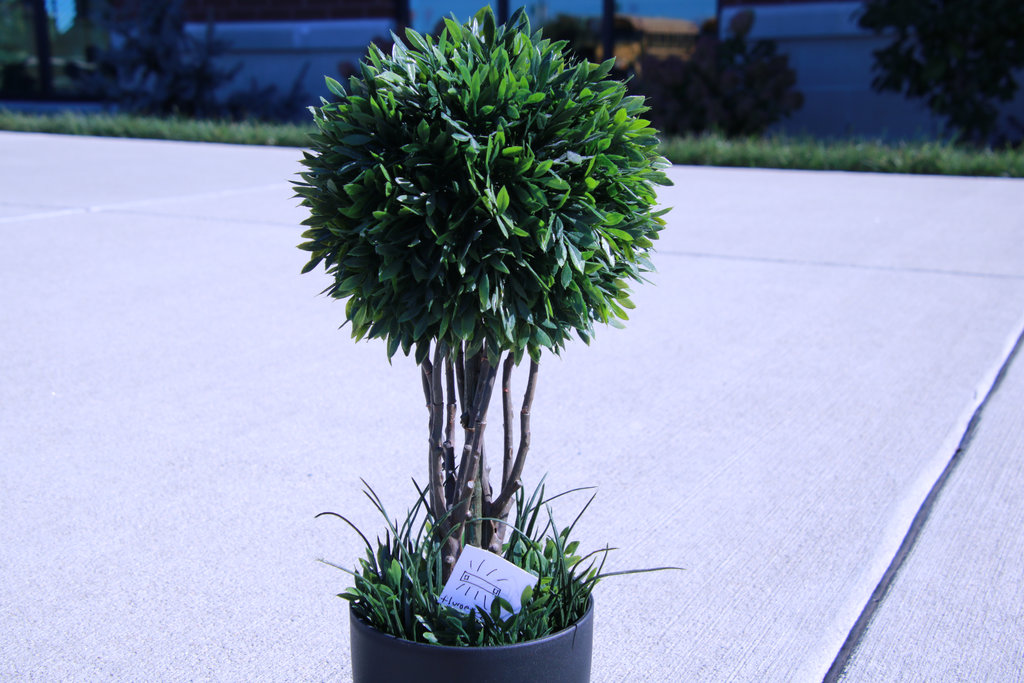
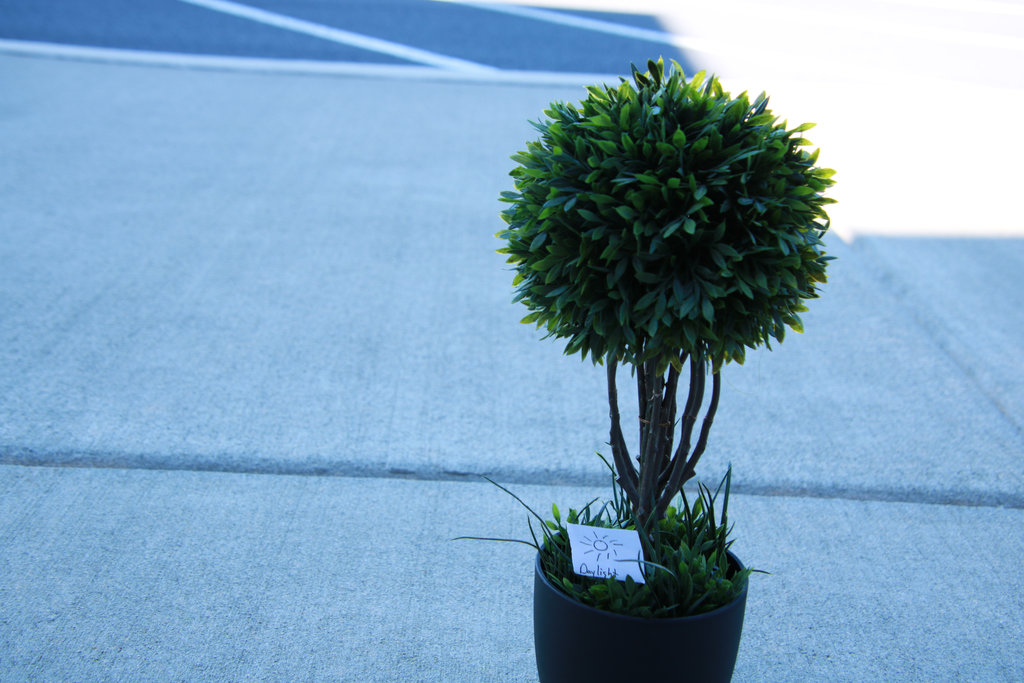
White balance: Adjusting the color temperatures to make whites look white and/or affect the overall tone. Below are the common modes.
Tungsten (incandescent)
Fluorescent
Daylight
Cloudy
Shade
Flash
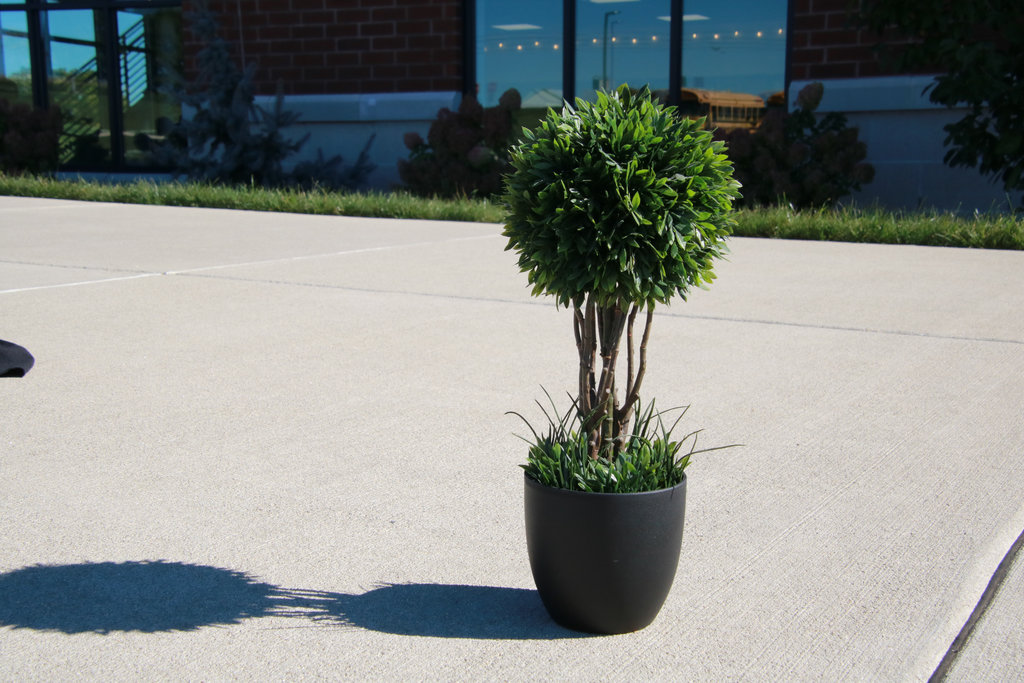
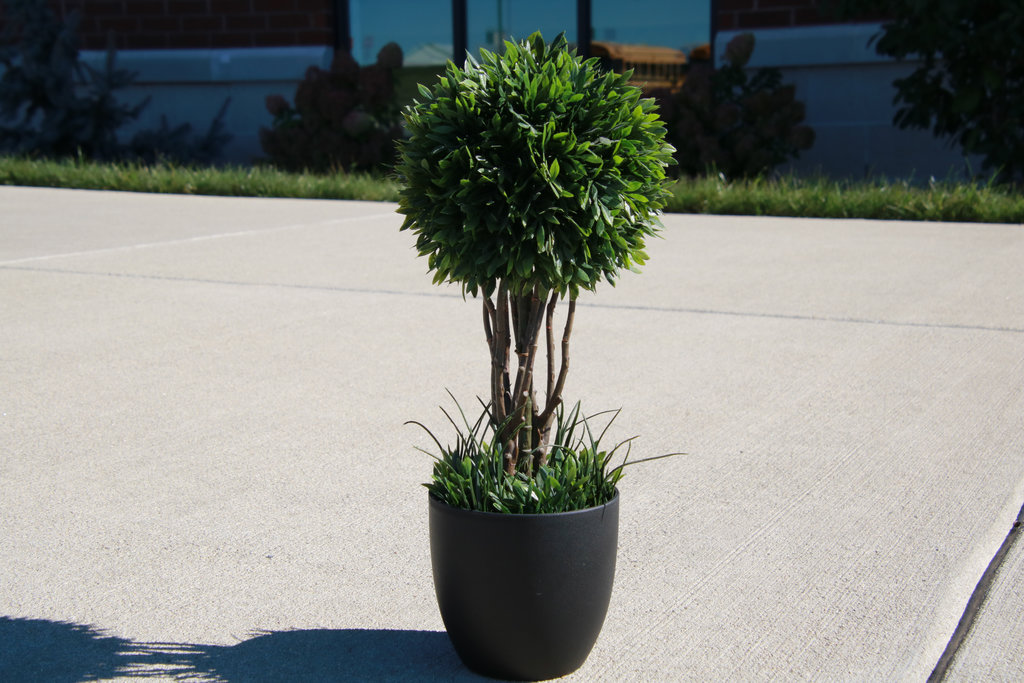
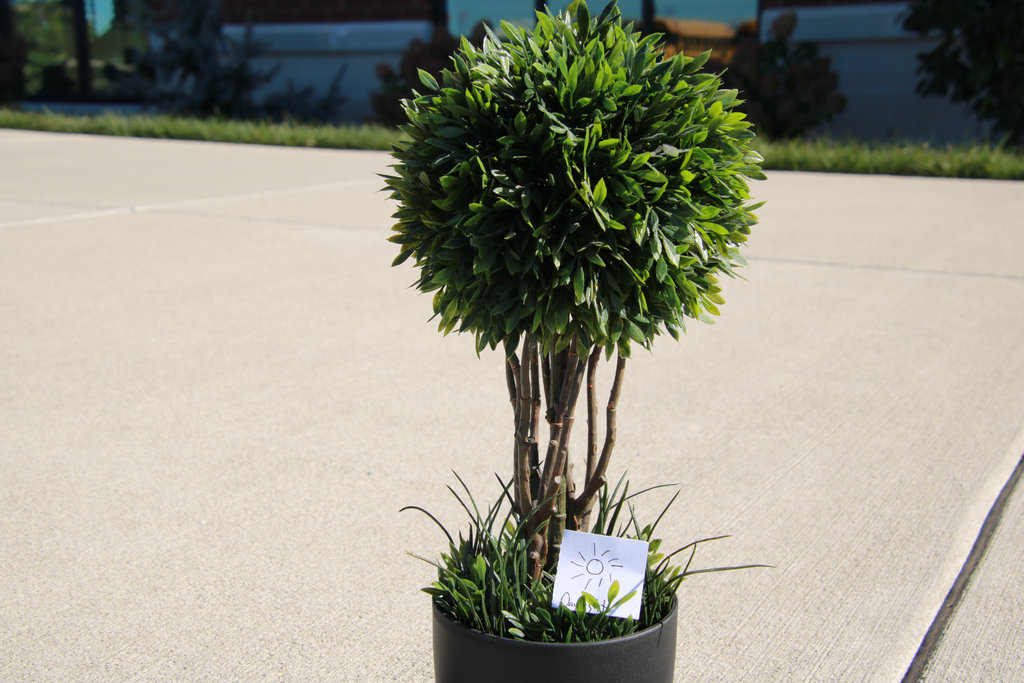
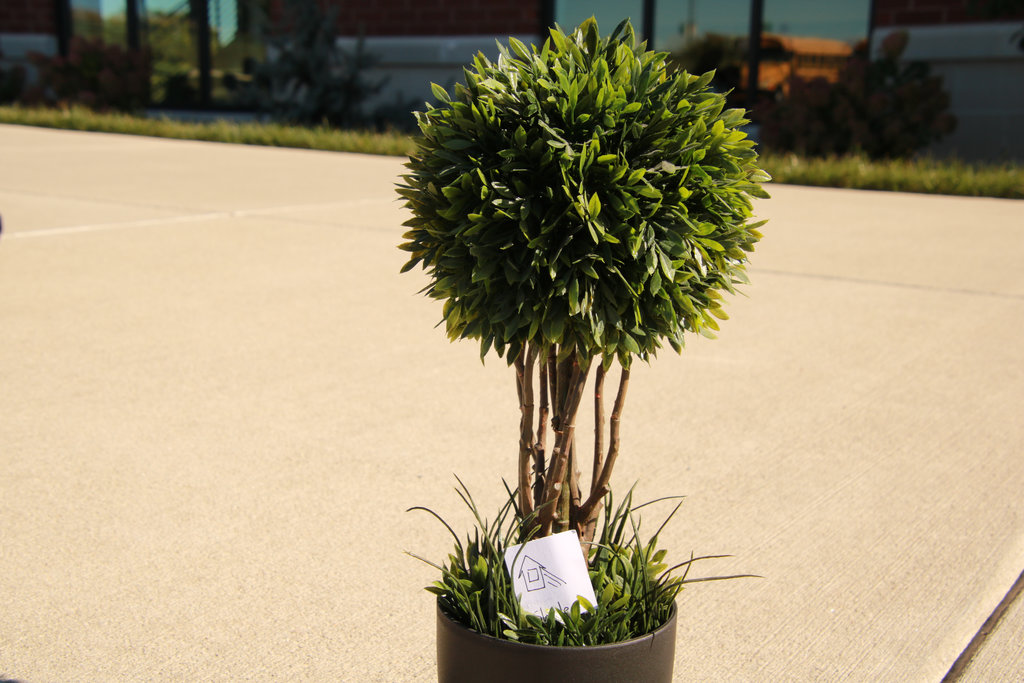
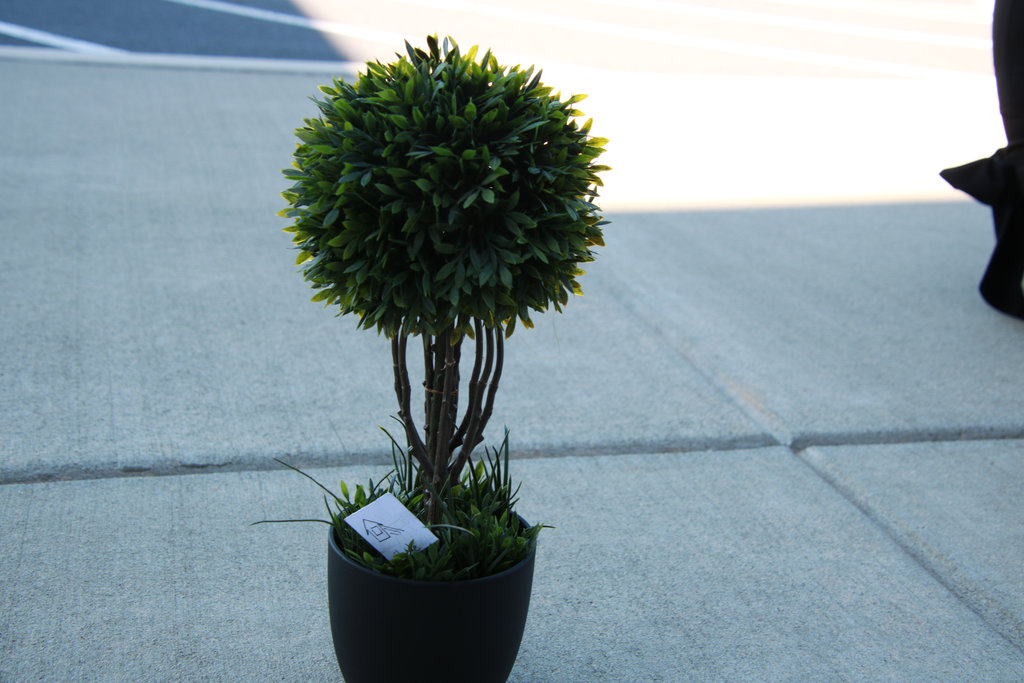
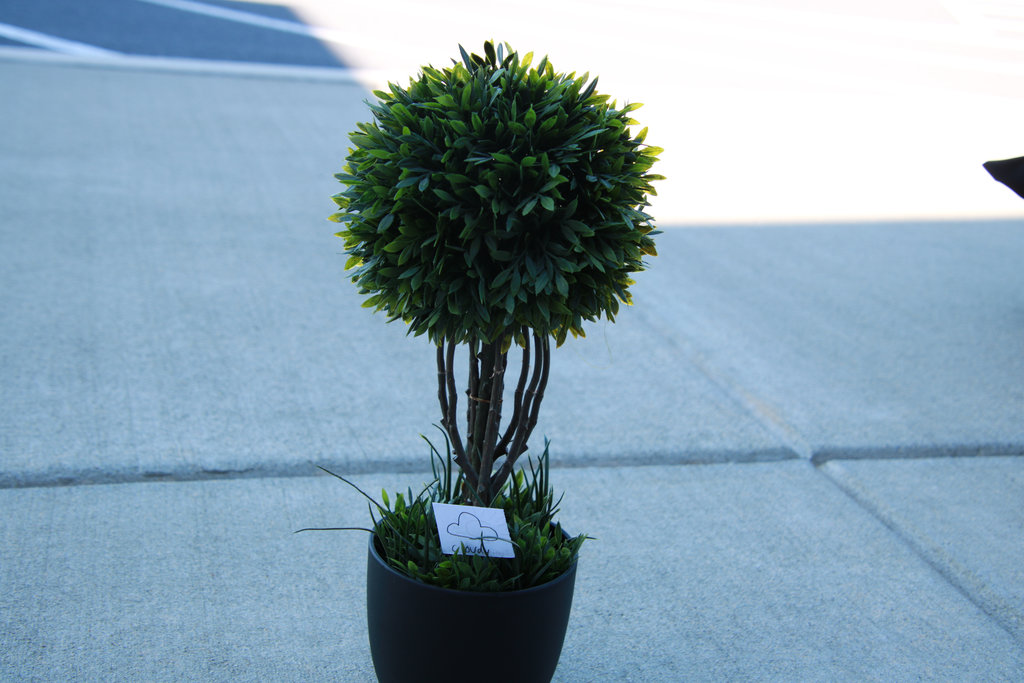
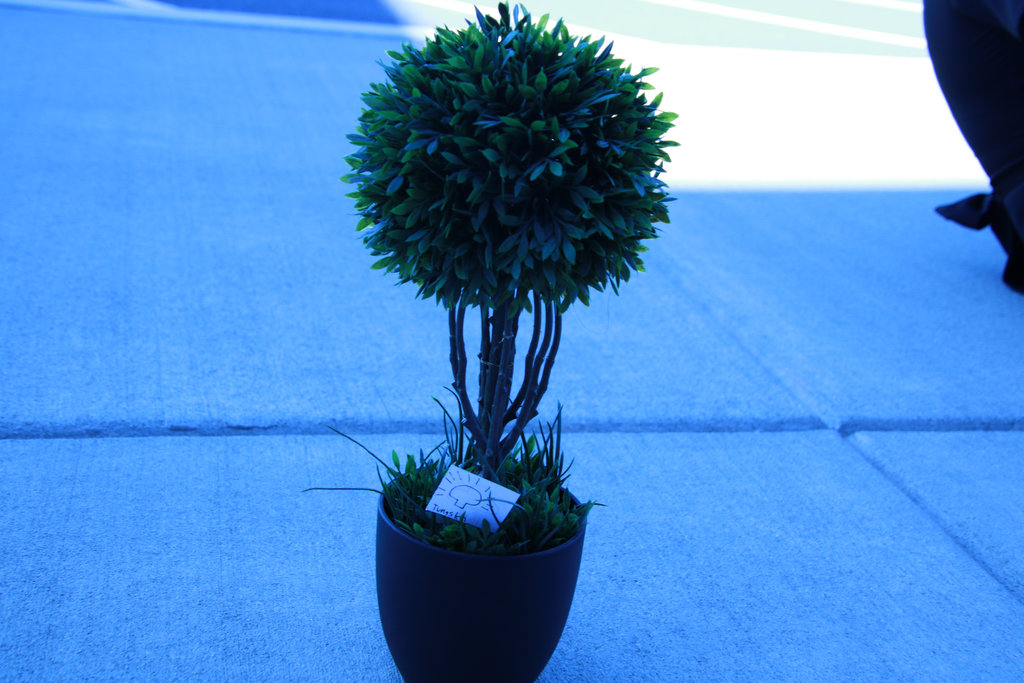
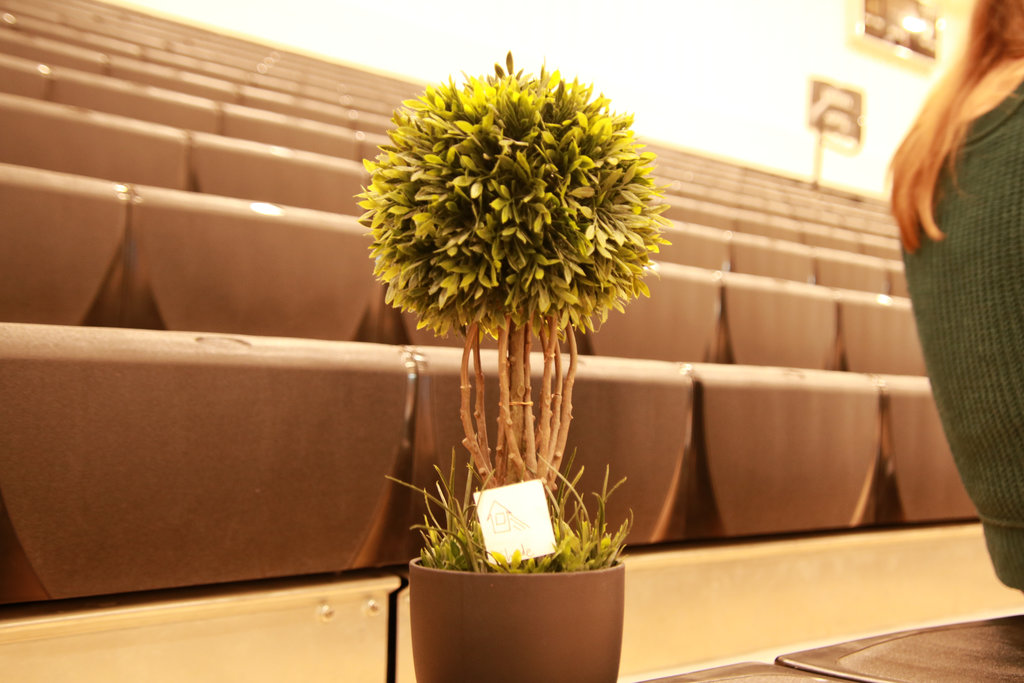
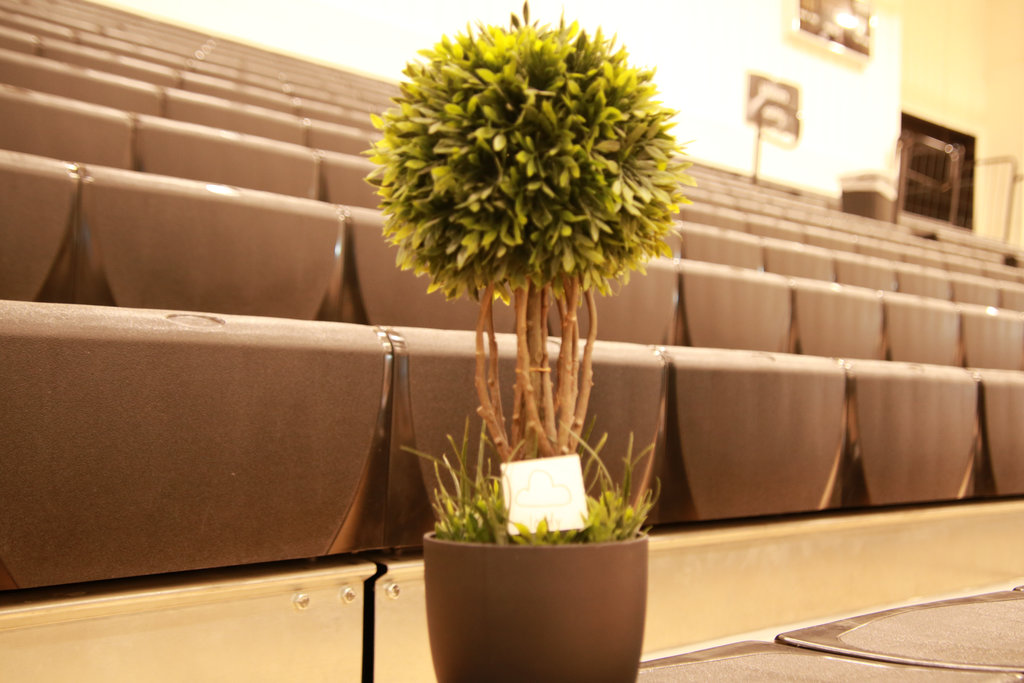
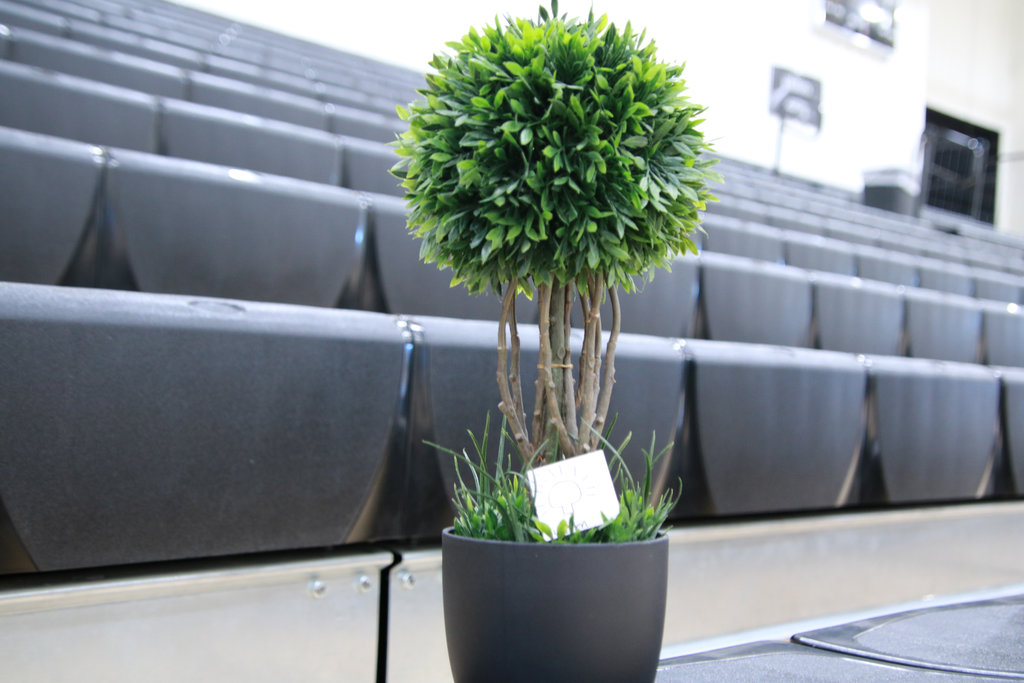
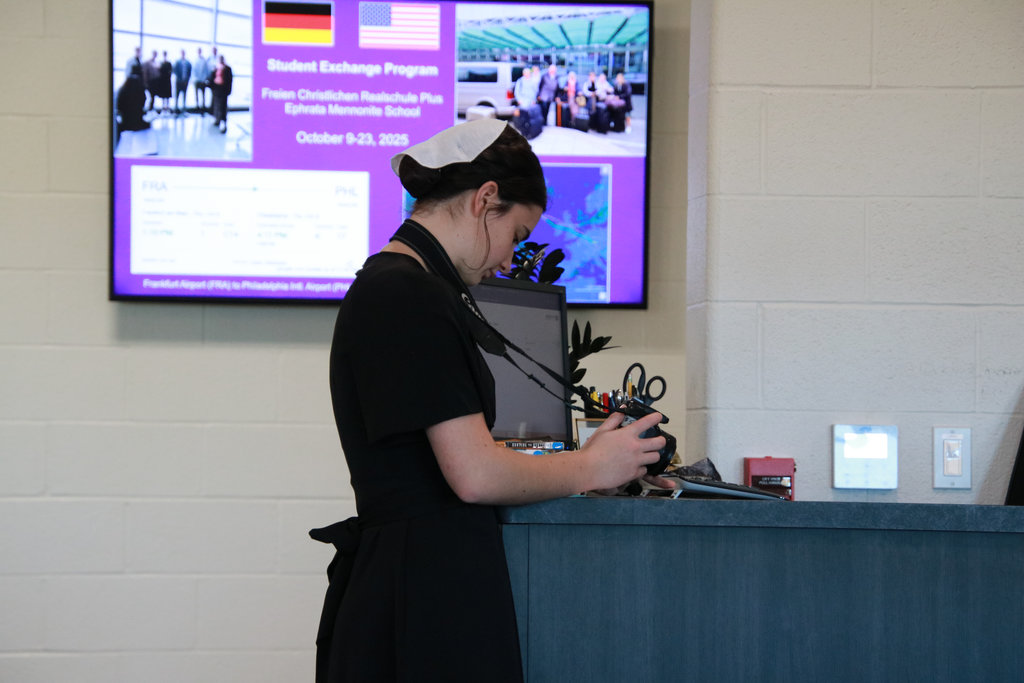
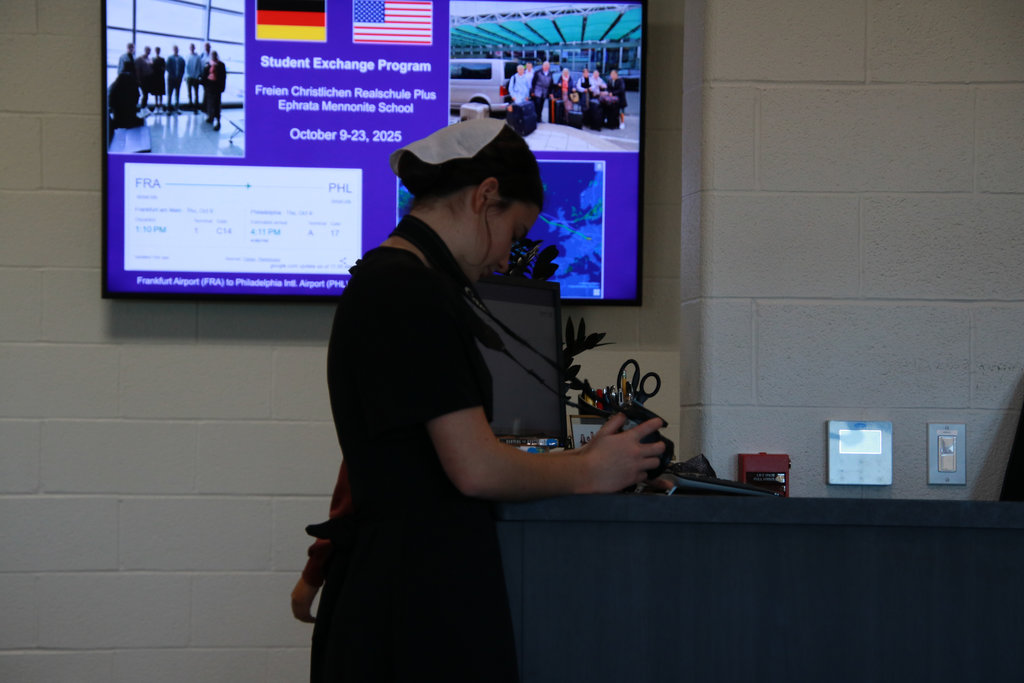
– While taking these pictures, I set the camera’s ISO to auto, and kept the camera in ‘P’ mode. What i did change, was the location. In each gallery i took 5 pictures, one in each of the following modes (listed in order that i inserted them):
Daylight
Shade
Cloudy
Tungsten
Fluorescent
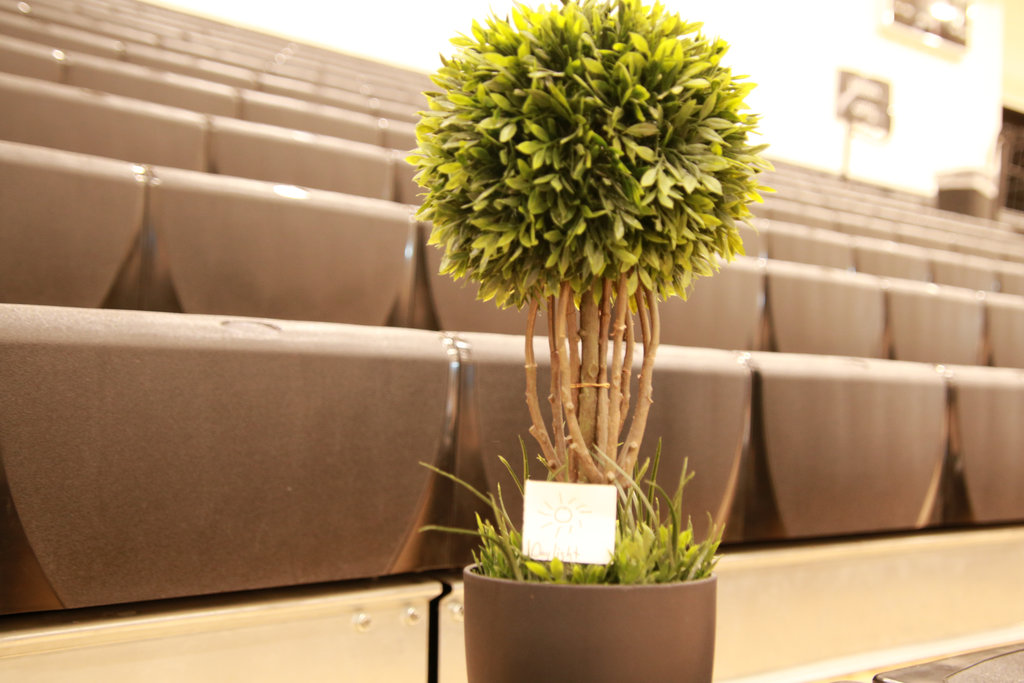
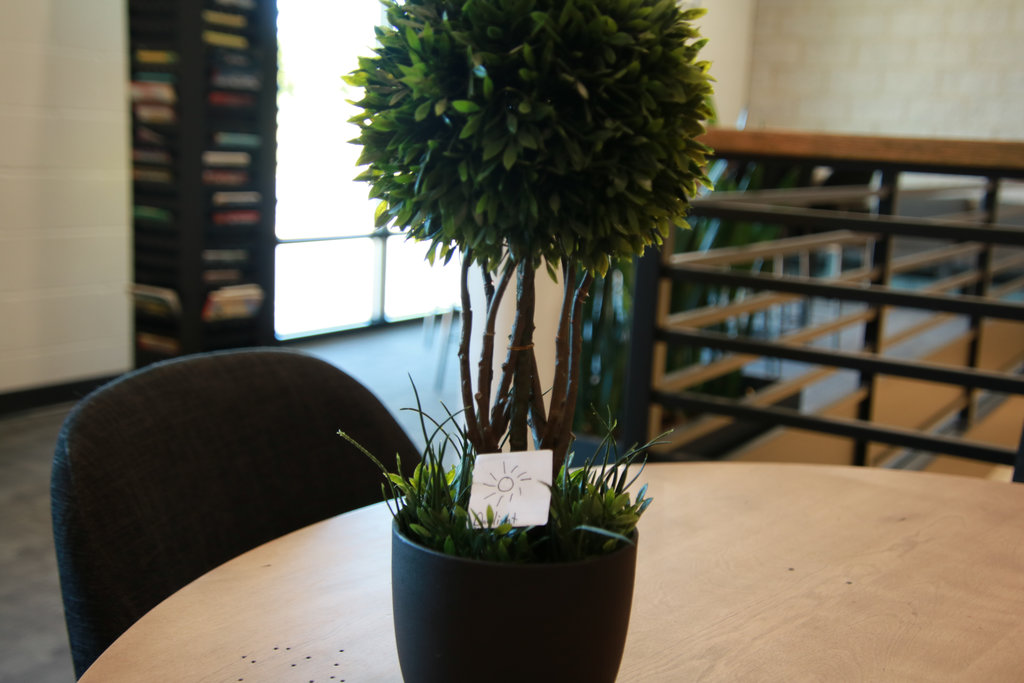
The different lightings really changed the color temperature (how warm/ cold the picture feels). The colder pictures, such as tungsten or fluorescent feel more somber or even just cold, as opposed to the pictures in shade or daylight that feel more warm or friendly.
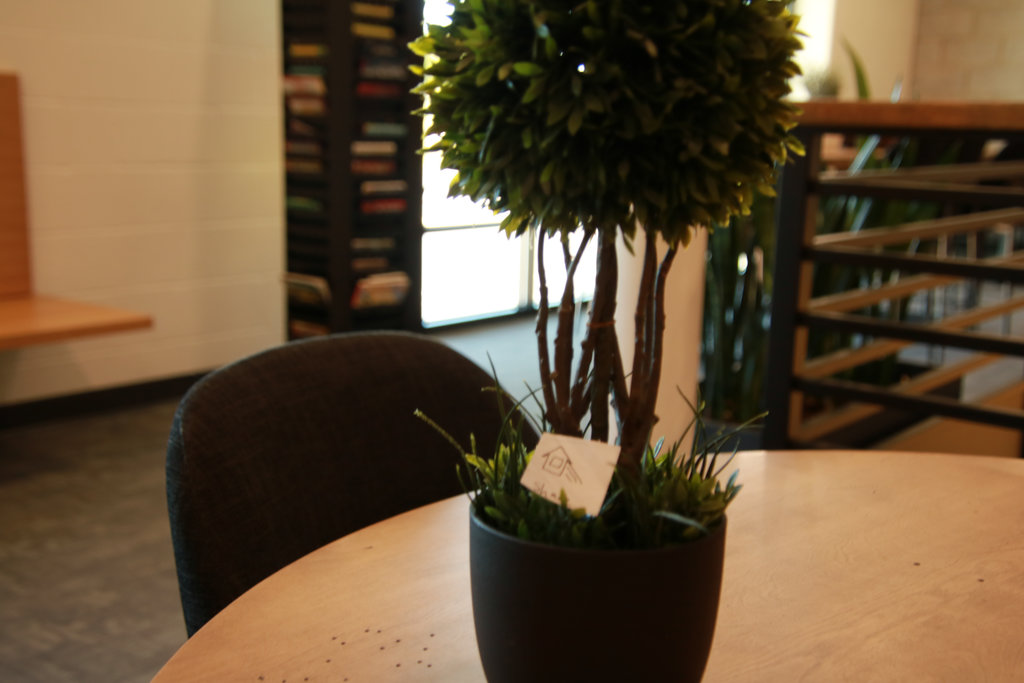
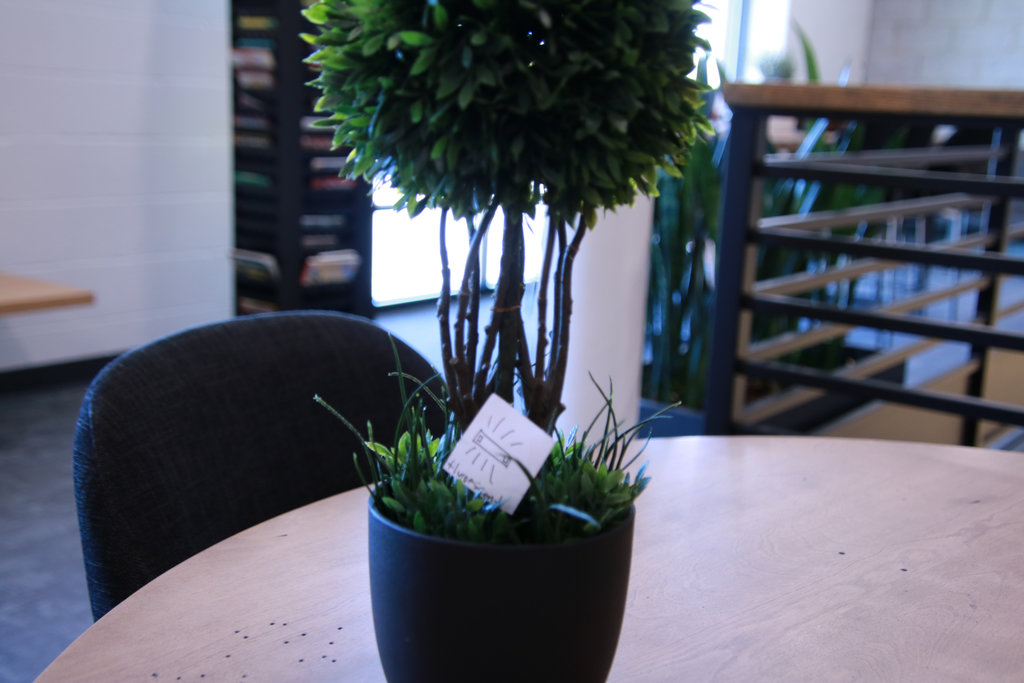
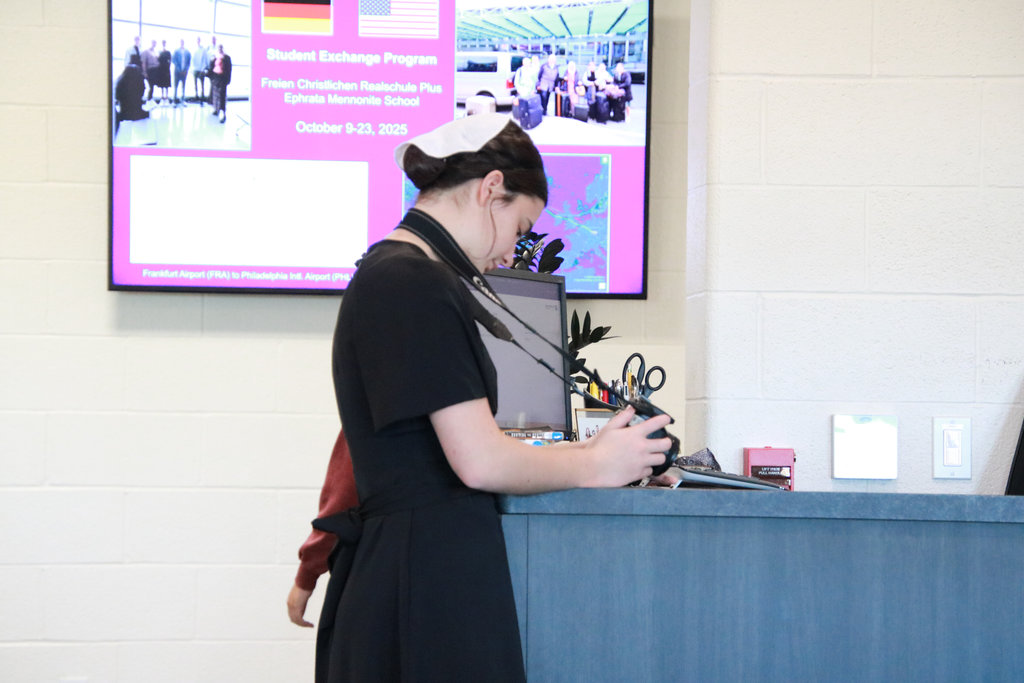
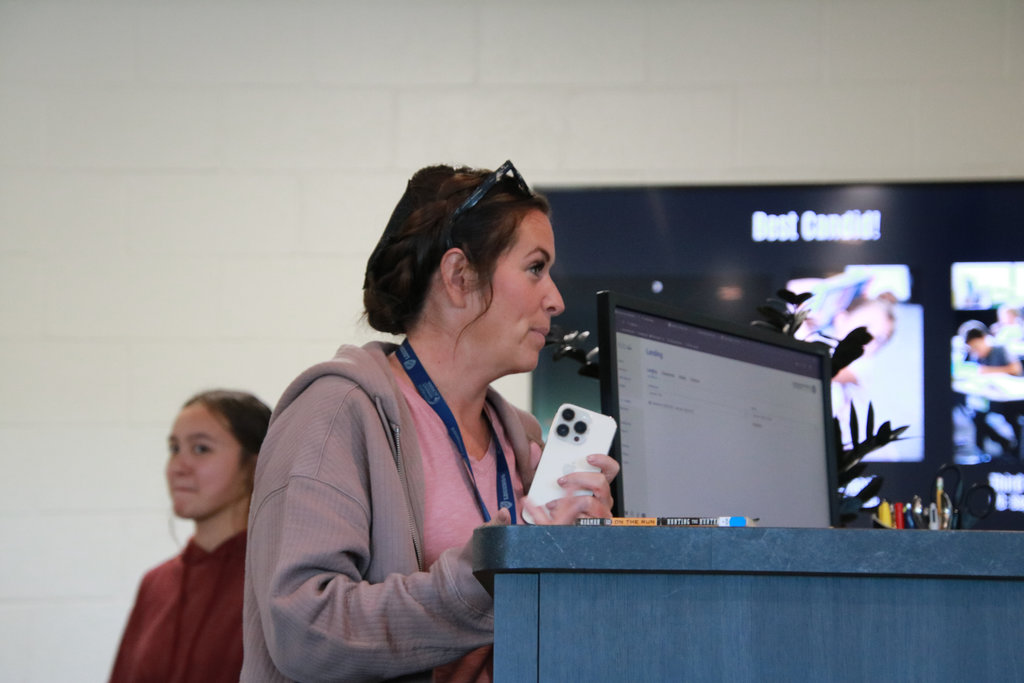
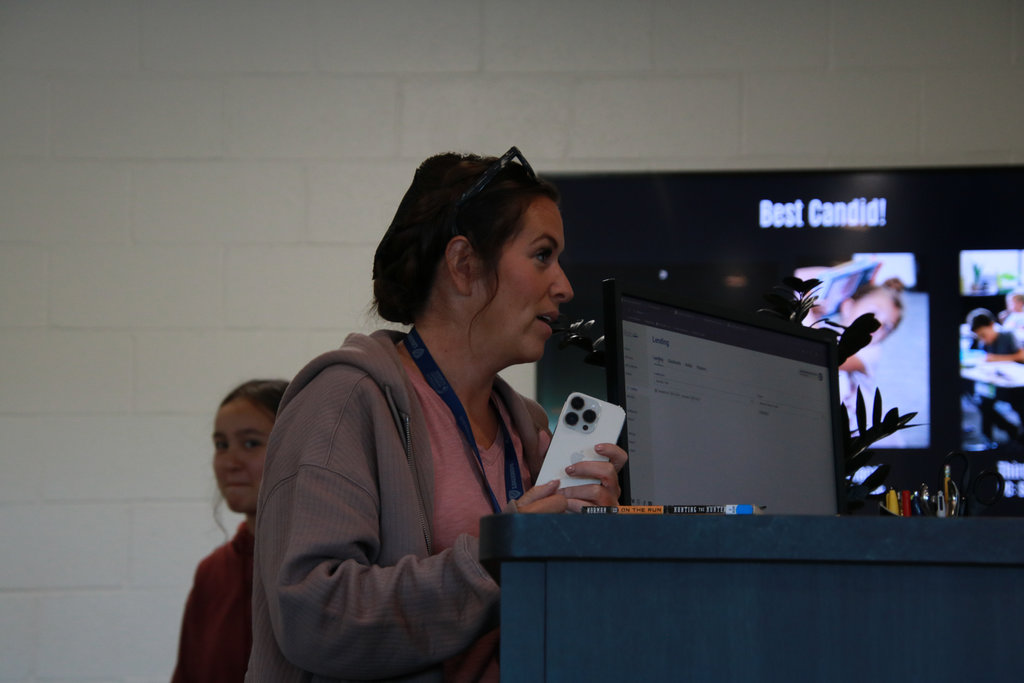
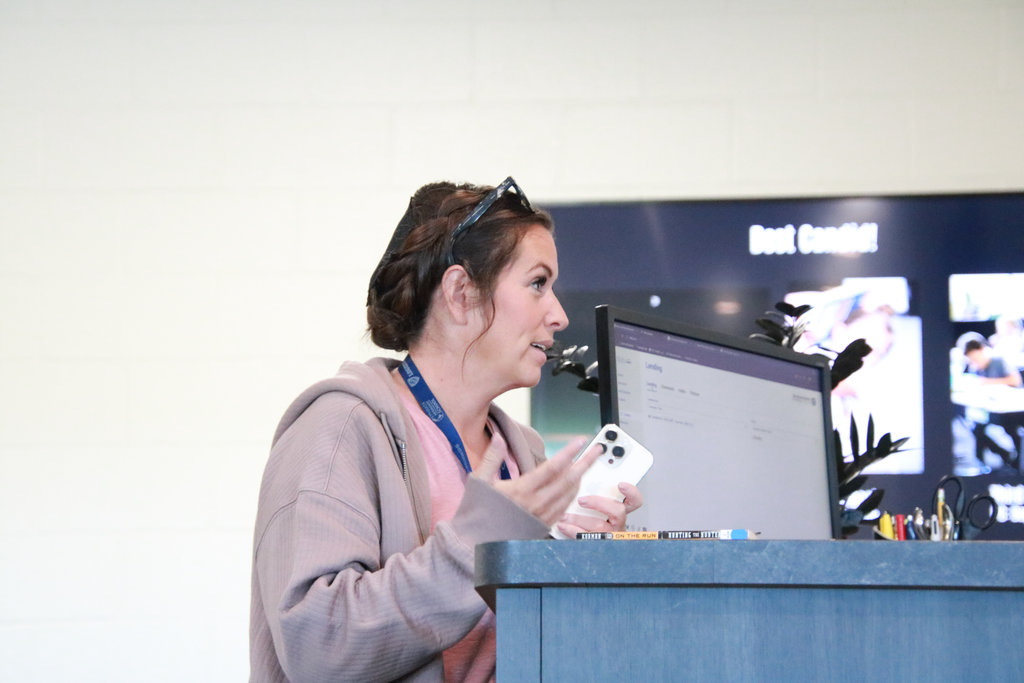
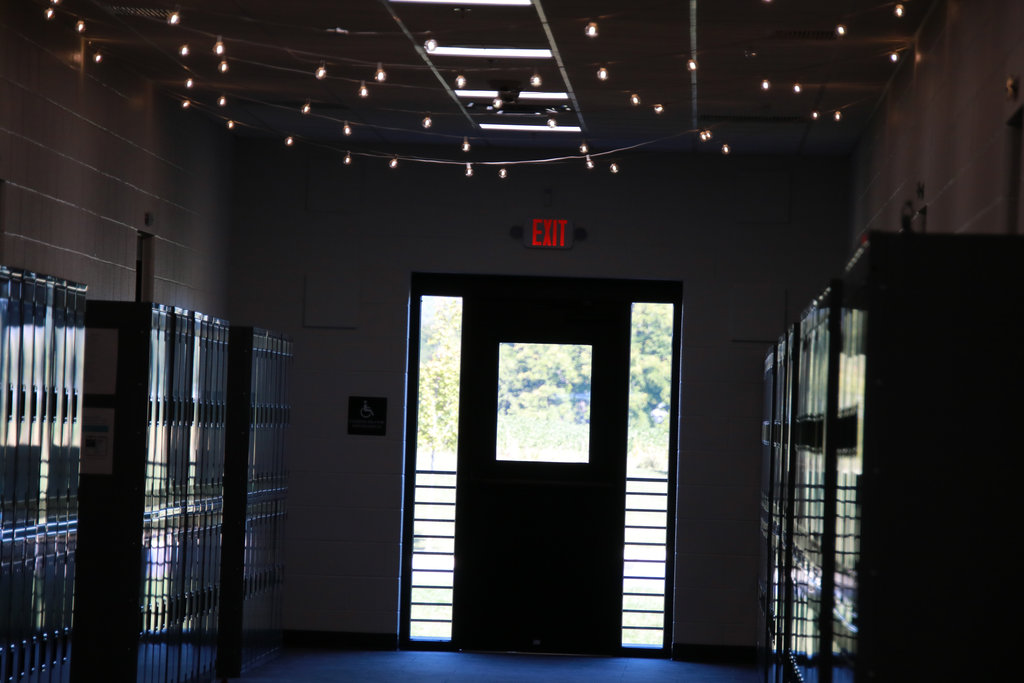
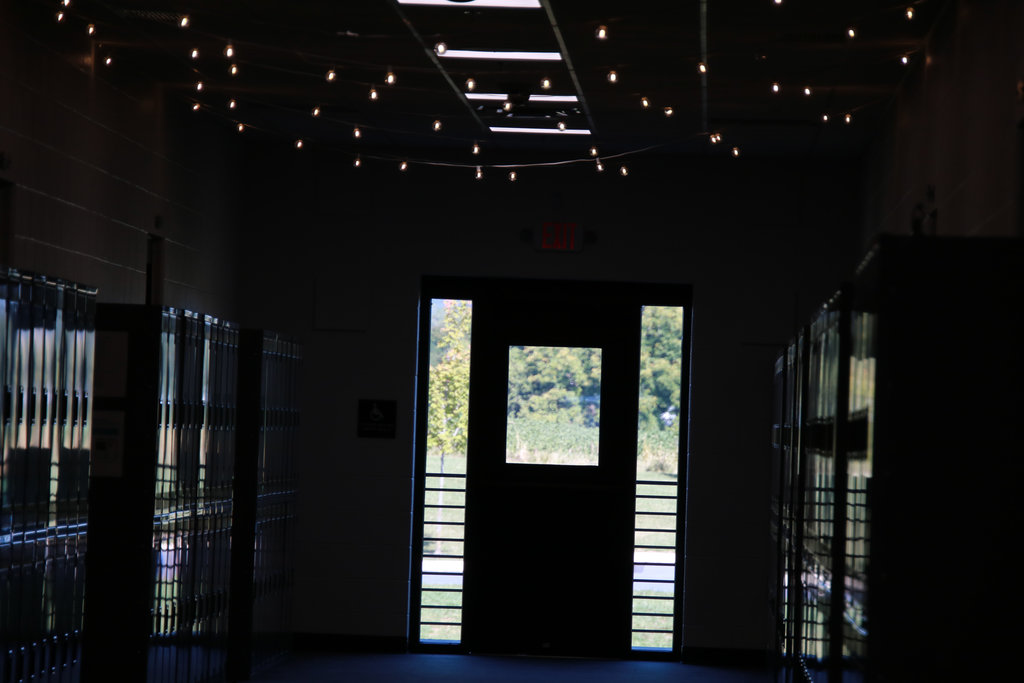
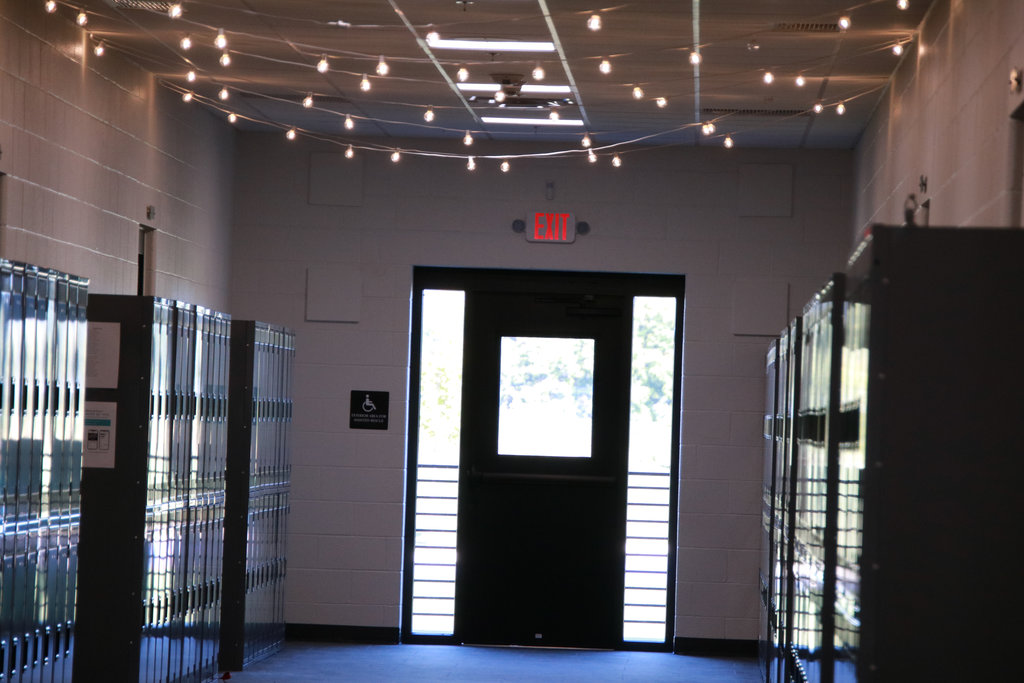
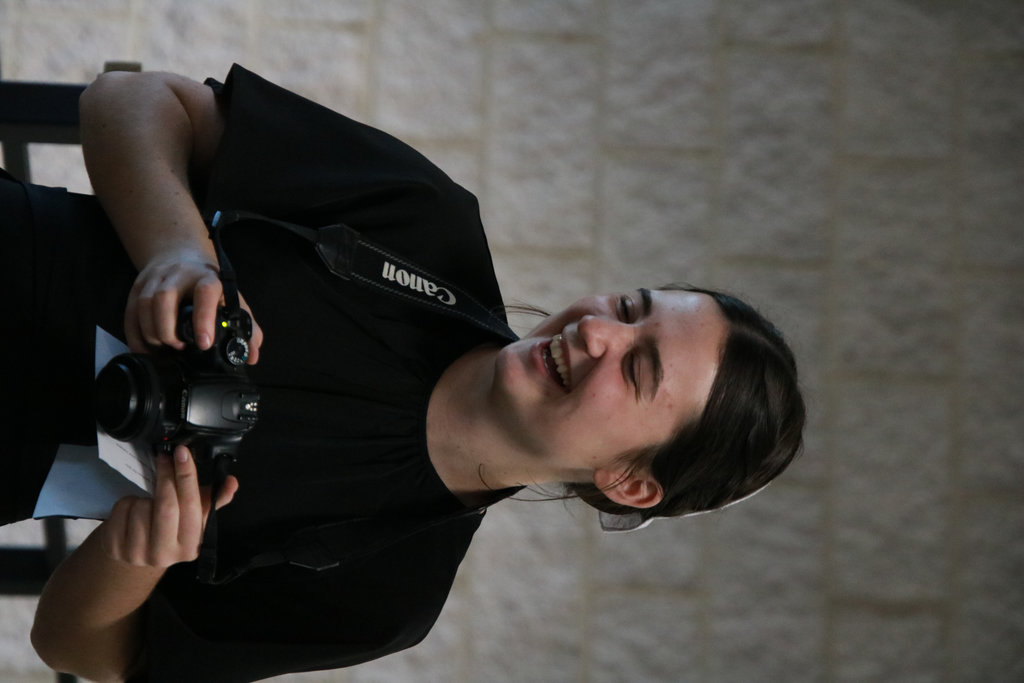
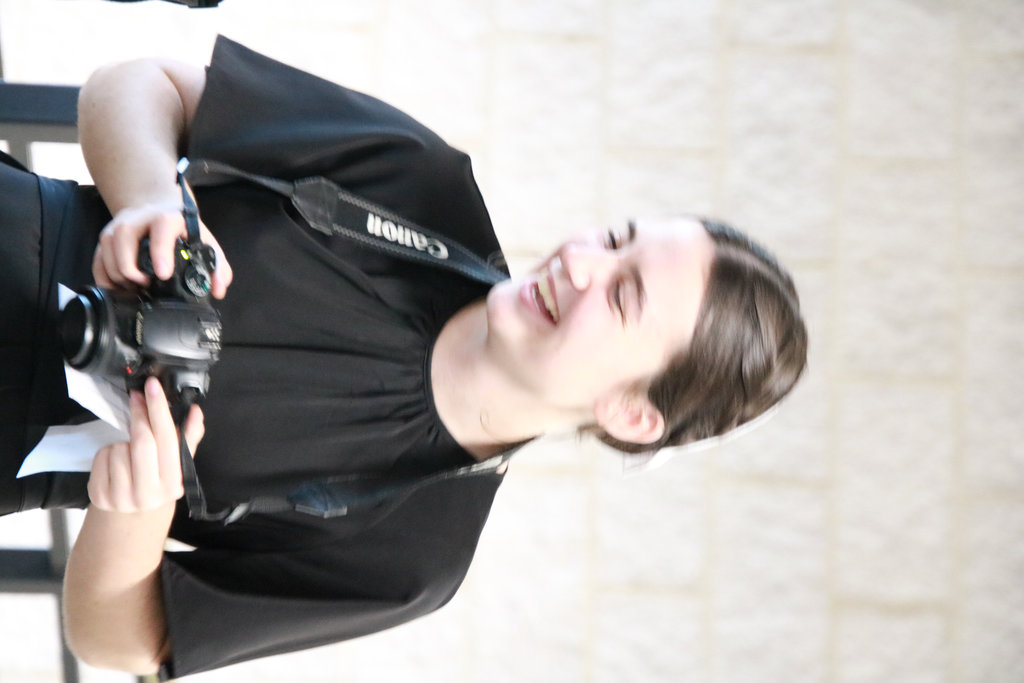
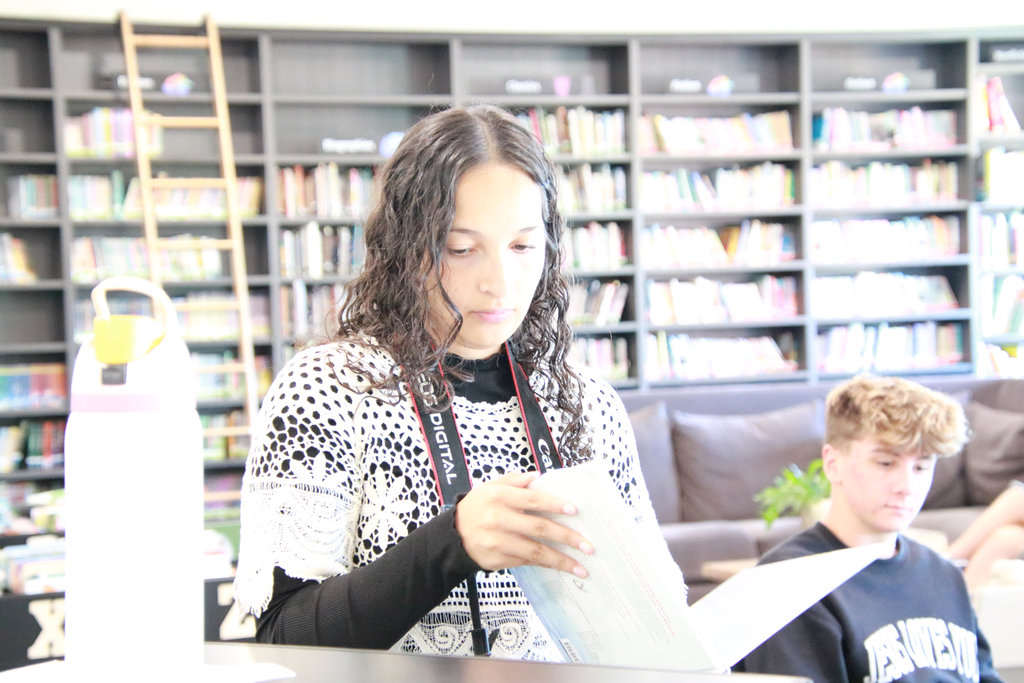
The pictures above were taken under dim lights, in the library.
Bracketing: This is a technique where the photographer takes multiple shots of the same scene at different exposure values so that hopefully, at least one of the exposures is good.. (usually (-1, 0, +1) or more).
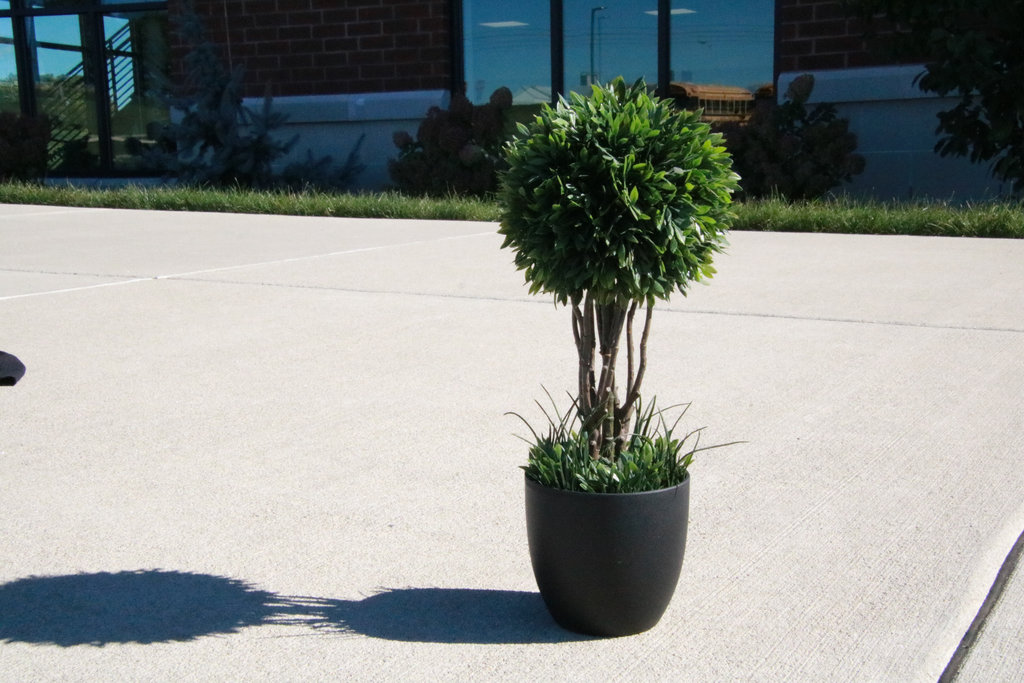
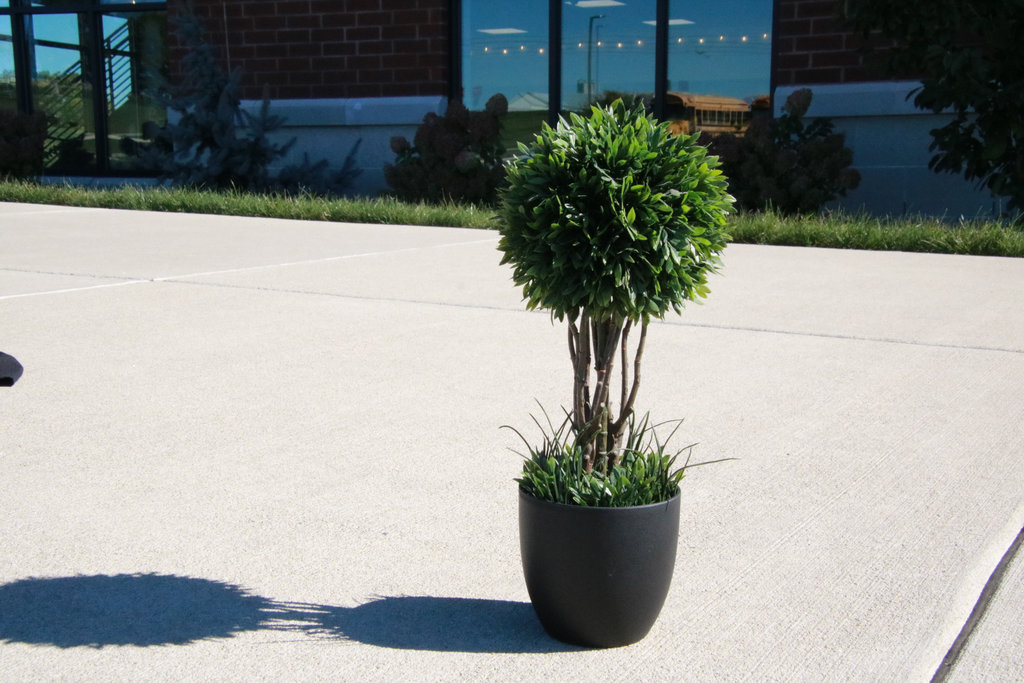
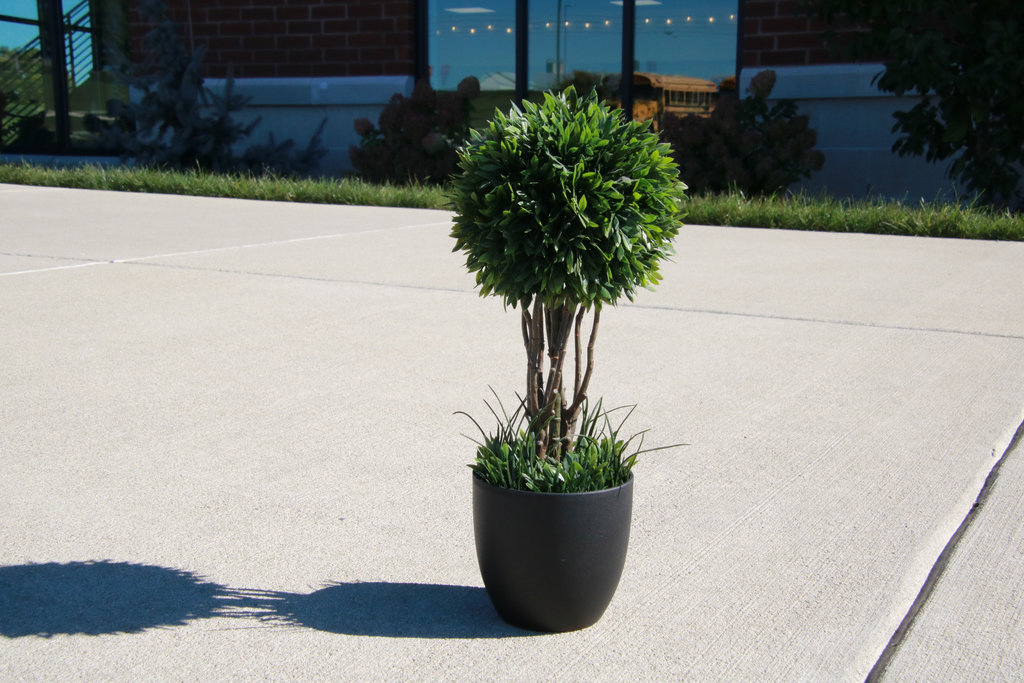
The pictures below are all examples of this technique. The pictures are set up (0,-1, +1) with the most exposed to the right, and the least exposed in the middle.
In pretty much all of these pictures, i prefer the 0, however there are definitively instances where i’d prefer a (-1) or a (+1)